It doesn’t matter, how good a photographer is. Photo editing always plays a fundamental role in the final result of an image. We edit to:
- Bring the best out of the image
- Adjust the exposure
- Bring out the colours/colours of your choice
- Sometimes edit out any minor blemishes
- It can help develop your “style”
- To have consistent images
- Help tell a story with your images
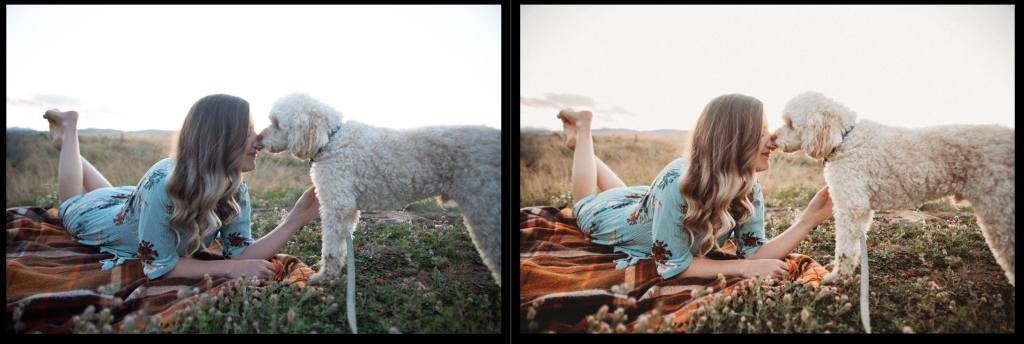

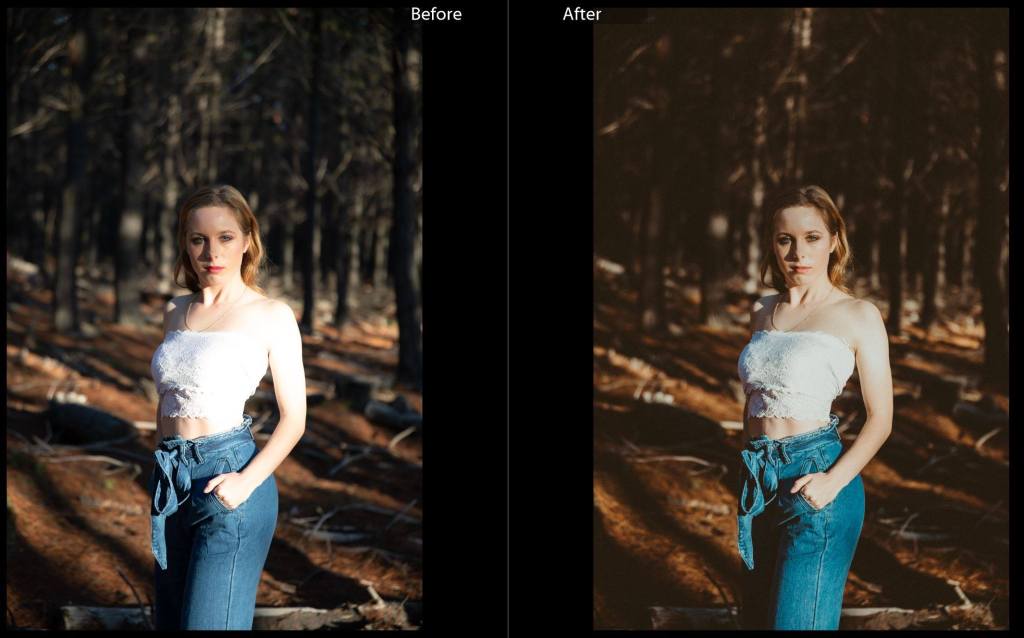
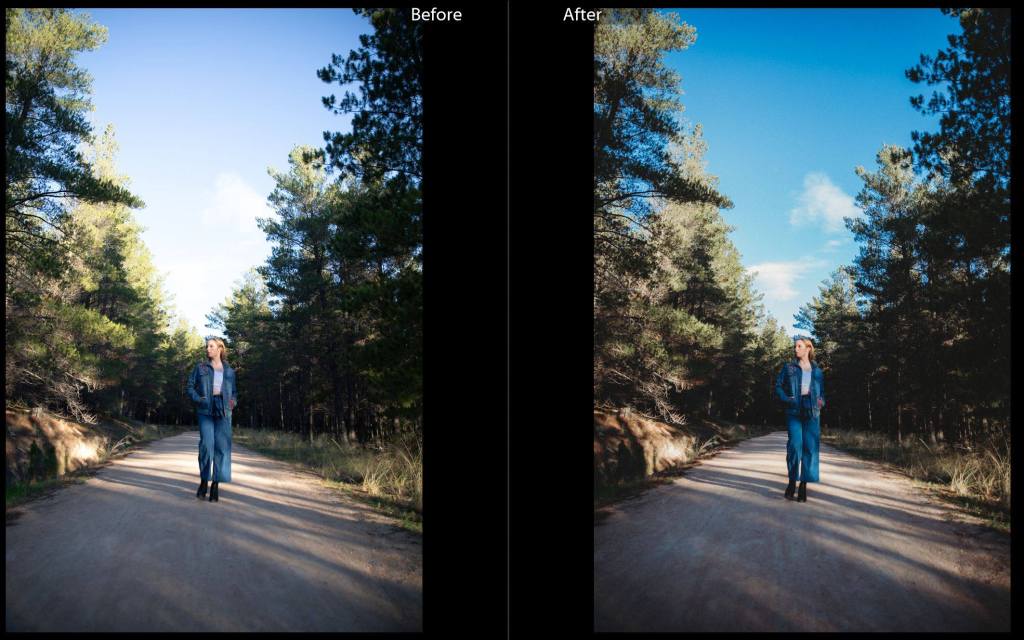
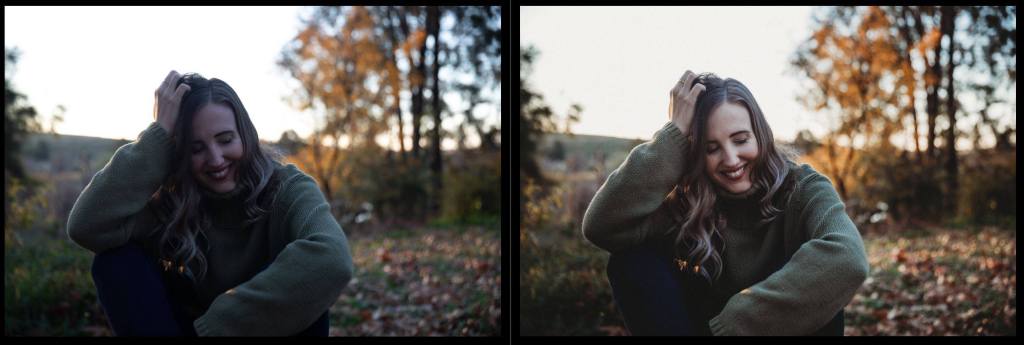
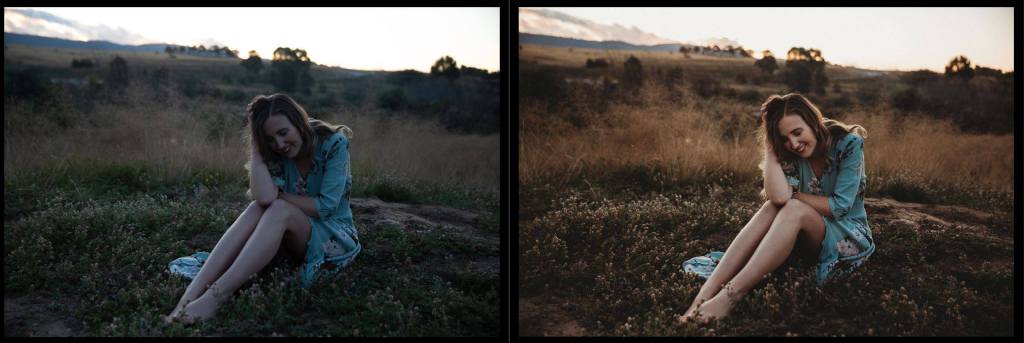

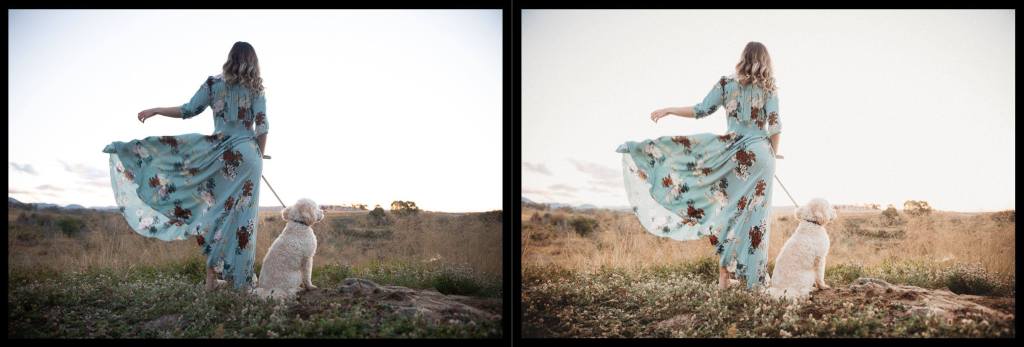

You can see in my editing images above I have adjusted the exposure, as I was shooting a little underexposed to make sure I got more detail in the highlights. I have added a bit of warmth to the images in the temperature slider and adjusted the contrast using the tone curve. You can see that my greens, yellows and oranges also appear slightly different in the after this is my own personal style.
WORKFLOW
This will enable you to have consistency within your assignments and is aligned with how professional photographers complete and review shoots.
- Save all your photos to a folder named with the date and the project title/class task. Eg. 200530_Portraits_Josie. (I usually save all my photos in at least 2 different places)
- Import the photos into Lightroom, create a contact sheet of all of your photos from your shoot, even the blurry, dark and too bright ones! (If you aren’t using lightroom, you should have a folder of the originals that you can share)
- First cull – go through all the photos now and delete any that are completely blurry and unusable. As you are going you can rate potential favourites from 1 – 5 using the number keys.
- Editing – adjust the white balance and exposure first till you are happy with your base and then you can move on to playing with the tone curve, HSL sliders and split toning to get the consistency across your images. You can also play around with cropping in this stage.
- Sync your edits across your images (make sure you don’t have crop selected in the syncing tick box) If you aren’t using lightroom, screenshot or write down what you do so you can replicate a consistent editing style for each of your images.
- Any refinements to photos after you have synced the edits
- You may choose here to go through and rate the images again to narrow down the final selection.
- Export/save to “edits/finals “folder – you can change the file names to your name and sequence as well.
For your assignments in your reflection you will need to provide a before and after for your images and write down the edits/changes you made to the images.
