What do you notice about these product photos?

The circle example/theory


Other than composition, lighting is a key tool we can use to highlight the main product and make it stand out. For product photography, you want to control the light.
LIGHTING
Light quality

- In the hard light example, your attention jumps between the shadow and the bulb.
- With the soft light, you can see how the product stands out more.
- This is also a rule you can break, sometimes shadow can be used to enhance your photos!
Type of Light
Natural Light/Sunlight
A large “soft light” because the sun casts a larger, softer range of light than, say, a lamp shining directly on the product.
In the top photo – the sun coming in from the left lights the briefcase perfectly, while casting a gentle shadow on the legs of the man carrying it to emphasise the product.
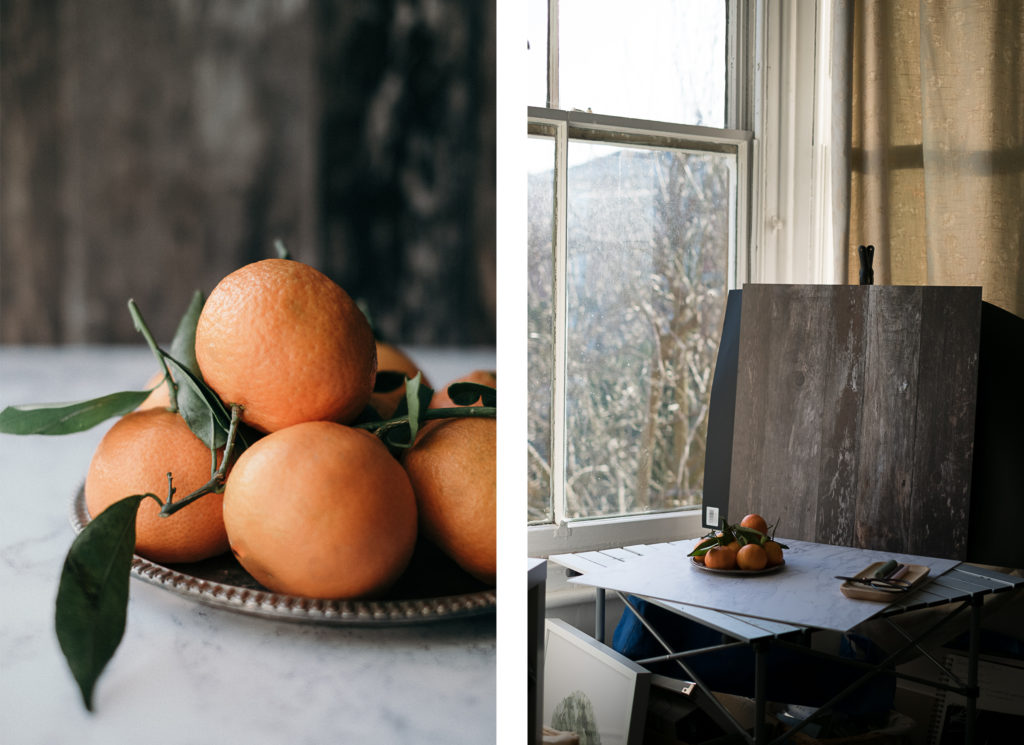
Using the natural light from the window to the left of the oranges, emphasises the shape.
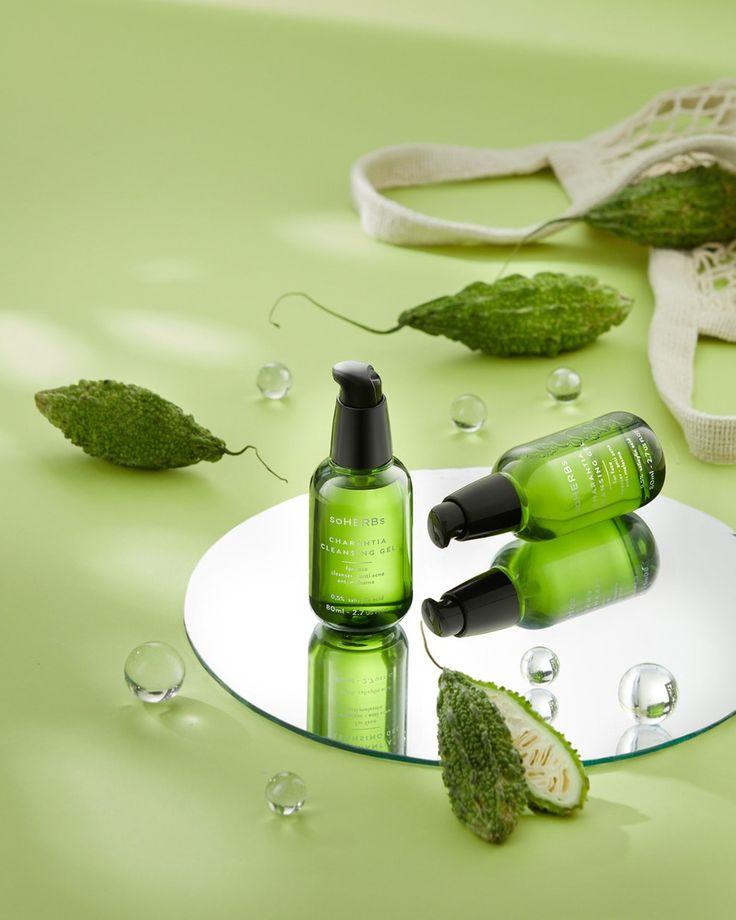
The bottom photo with the perfume uses lace or tree foliage to create interesting shadows and textures in the image, but the product still stands out, and it isn’t too much that it takes away from it.


Artificial Light
Artificial light includes candles, fire, and more commonly, light bulbs. It produces a smaller but more focused light surface. This type of light helps to showcase details and features of the products.
The watch’s texture and clock face design are its main selling points and highlighted with the lighting.
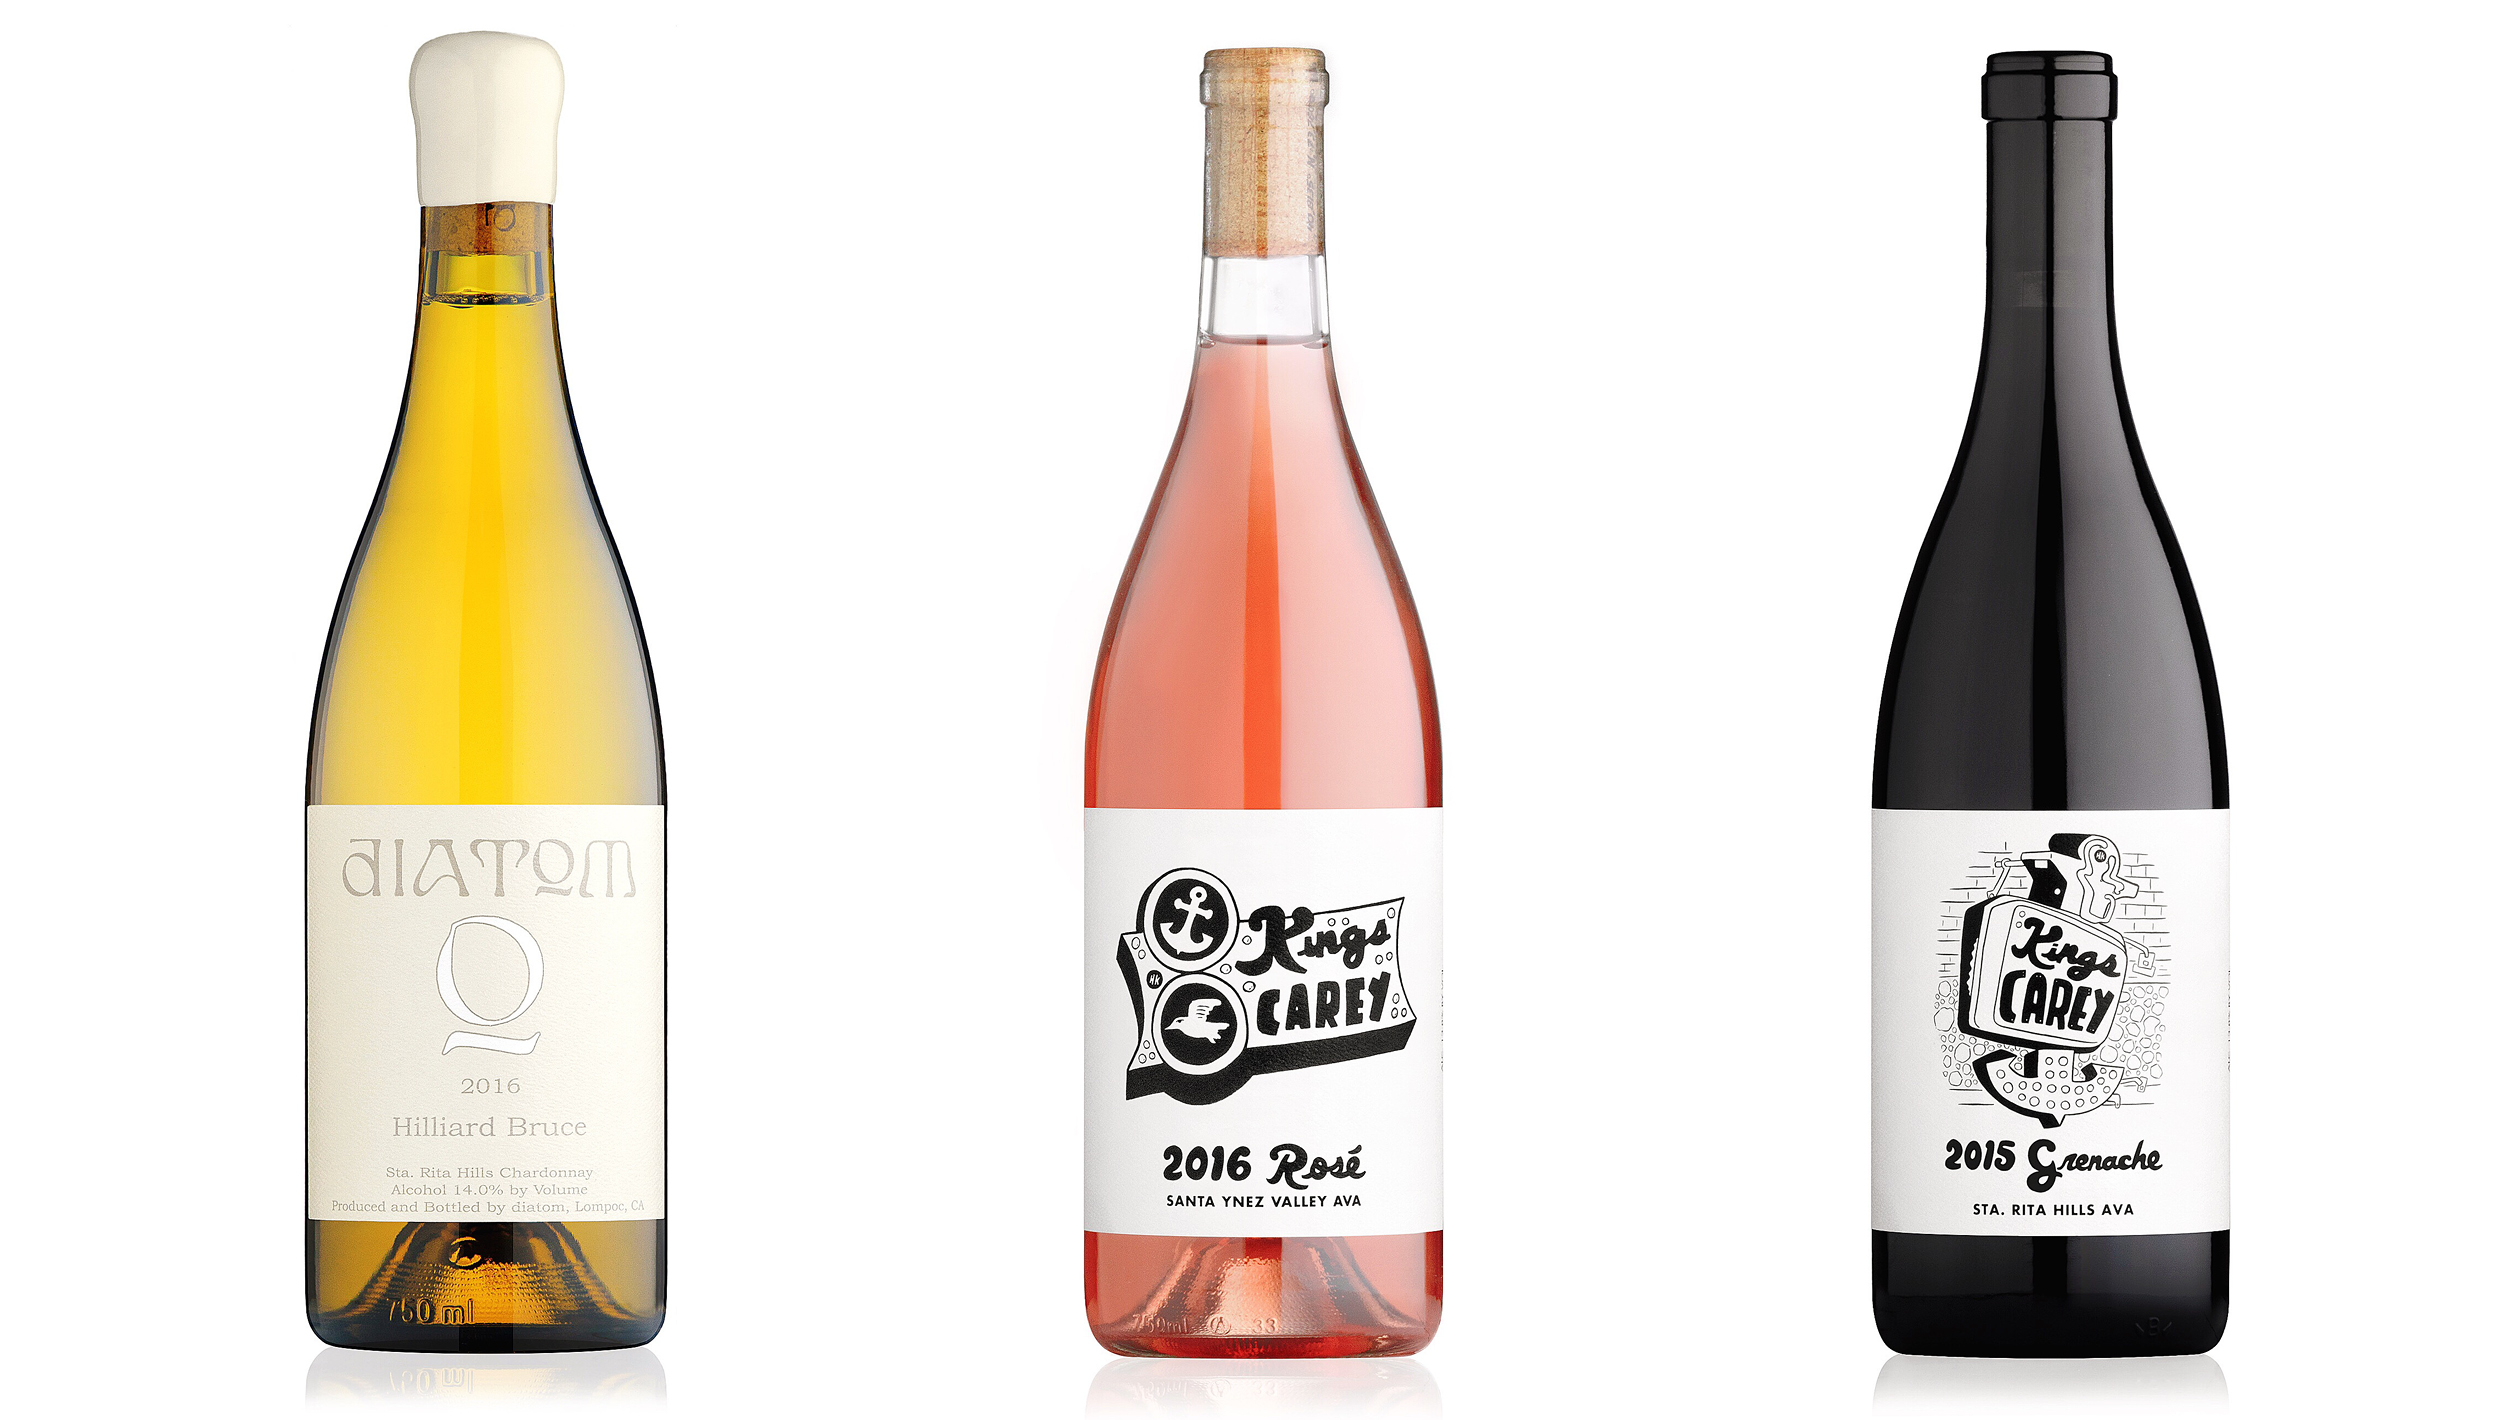
The wine bottles, have a well reflected soft light all around to highlight the shape of the bottles and the label with minimal reflection and shadow.

Simple ways to enhance your product images
- Using a sweep to ensure fewer distractions


- Fill/Bounce Your Light to Soften Shadows
Bounce the light from your main light source (window, flash, lamp) to “fill” the shadows and soften the natural shadow your main light produces behind an object.
You can use a piece of white paper/cardboard, a reflector – as your fill light – opposite your main light so your product sits between both light sources.
This will create a softer light, and surround the product without as harsher shadows.
The video below will show you the difference this makes in product photos.


TO DO
Use the following tutorials as a guide to try out some product photography shots for your practical.
You don’t have to try out all of them. Maybe watch the videos and then decide which one would be most suitable for your brand/product.
