
Today we are going to learn how to use layers and masks in Photoshop.
It looks quite complicated, but its actually quite simple and looks amazing when it is done well.
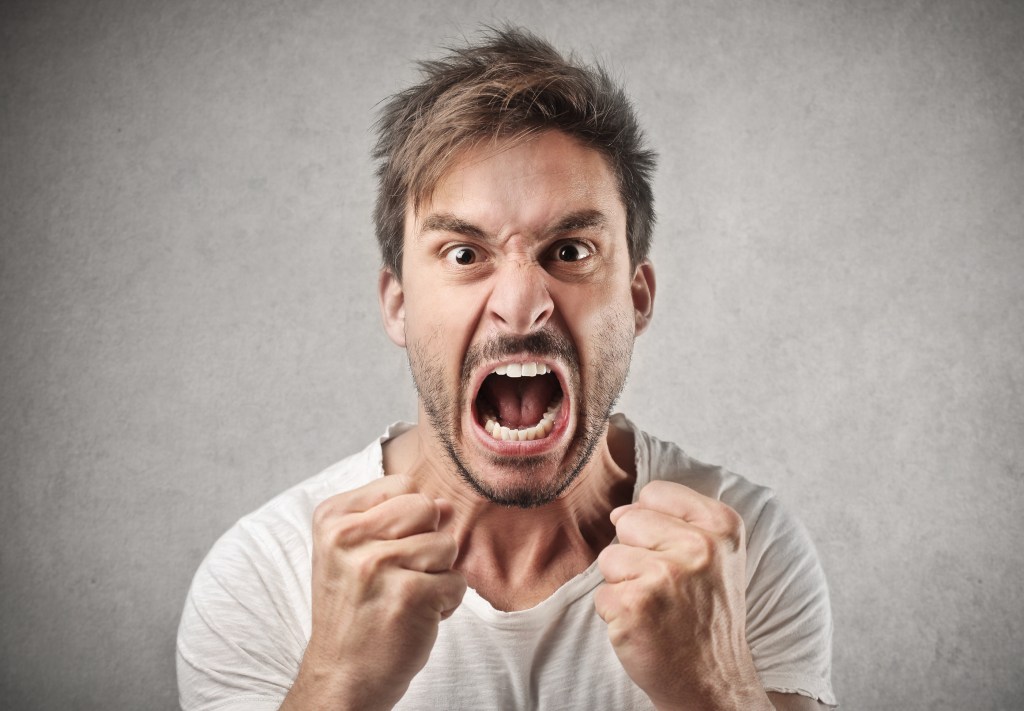
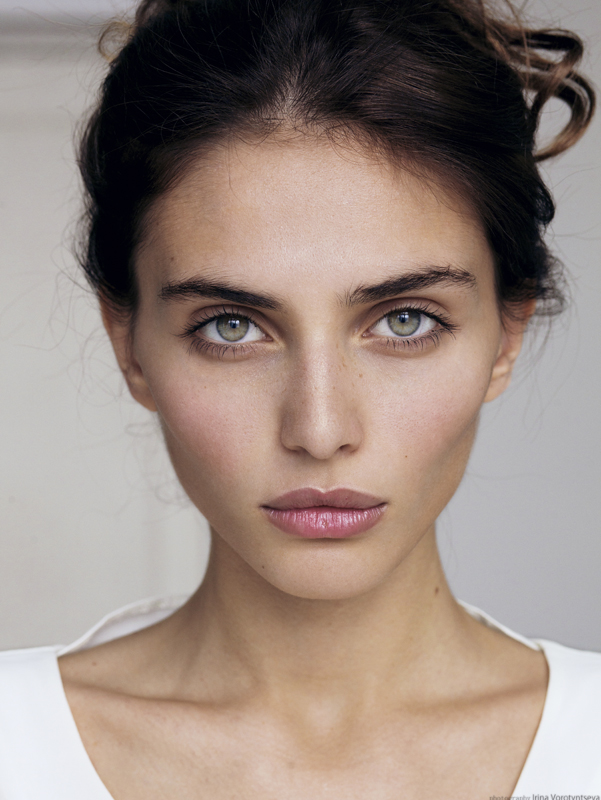
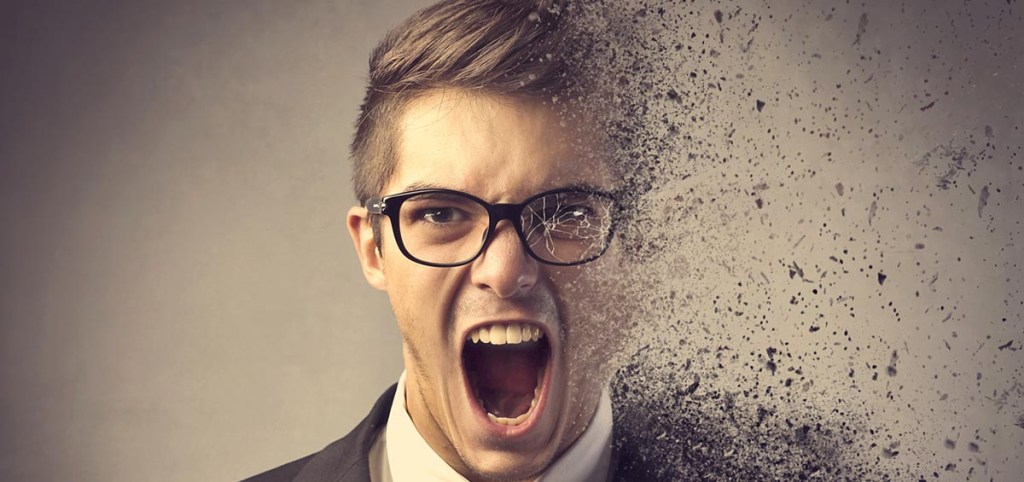
I think the hardest part is finding the free brushes for these effects and I have already done that for you. (linked on Google Classroom). I have also included some stock image portraits below for you to use.

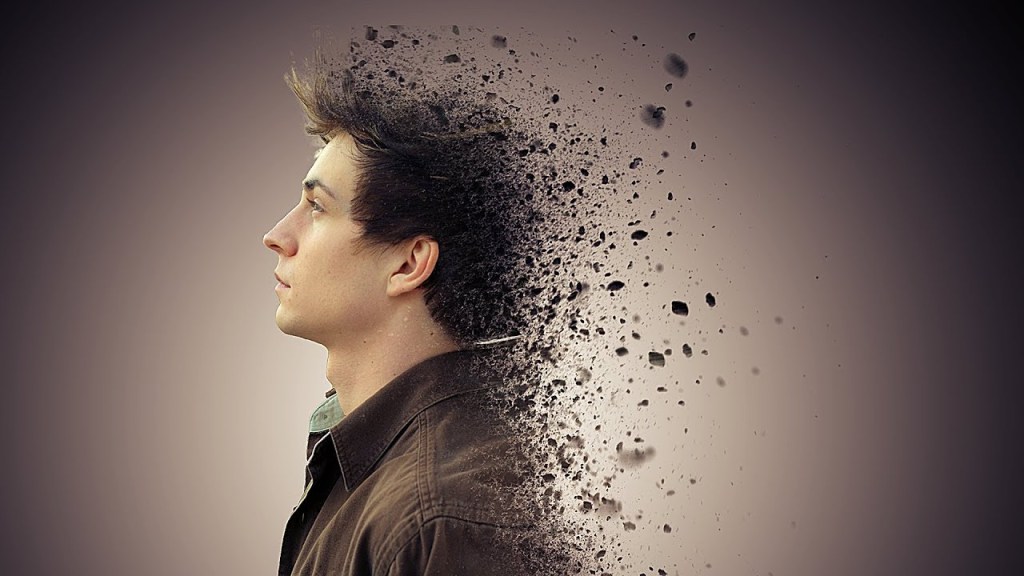
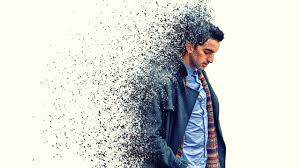
We will be testing out two different brushes/effects, a pixelation type dispersion brush and a smoke brush.
Short/summarised steps
- Download brushes and images and install/open in Photoshop.
- Select the person in the image using the selection tool.
- Right click to duplicate the person, do this twice so you have two individual “people layers”
- Liquify one to drag the colour from the figure out to the edge of the frame.
- Click to add a layer mask to this layer and to the other person layer.
- You will then use the different brushes on each layer to add the effect. This works the best if you alter the angle and size of the brush.
- Optional: You can also add a gradient to the background of the image, or to the front to unify the image.
- Sharpen the final image after merging the layers.
Youtube Tutorials
I based my tutorial off of these tutorials, watch these for more detailed step by step.
