Summarise the different kinds of long exposures and try out one of these at home and include some examples on your Visual Diary + as always the reflection.
Long exposure photography involves using a long-duration shutter speed to sharply capture the stationary elements of images while blurring, smearing, or obscuring the moving elements.
What You’ll Need
- A neutral density filter (for daylight shooting)
- A tripod
- A remote trigger for your camera or change to 2 sec timer
- Patience!

Water
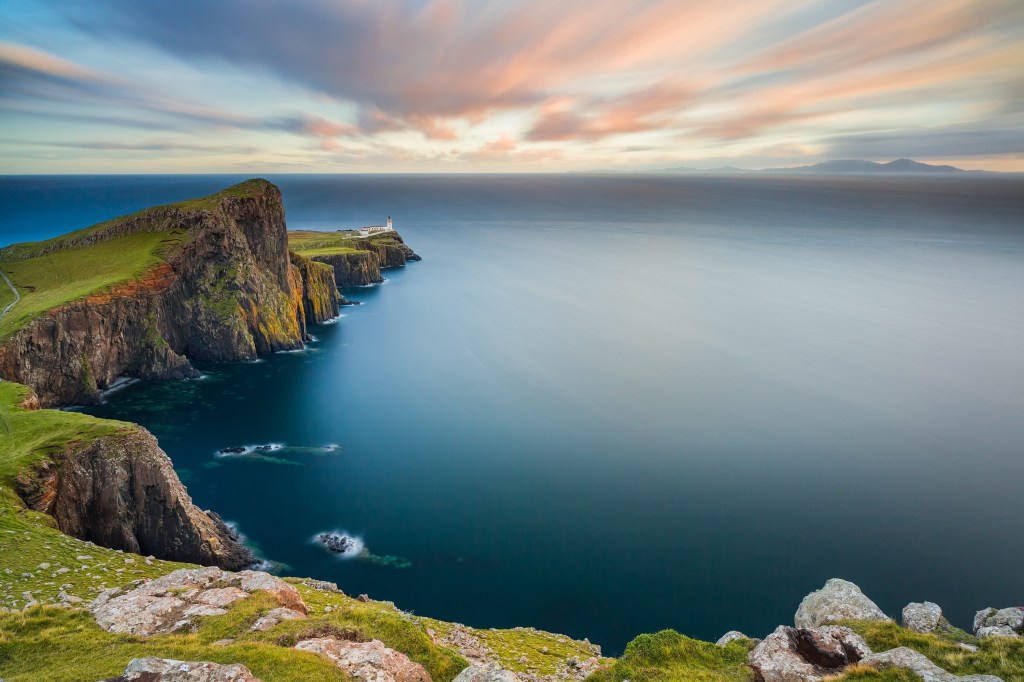
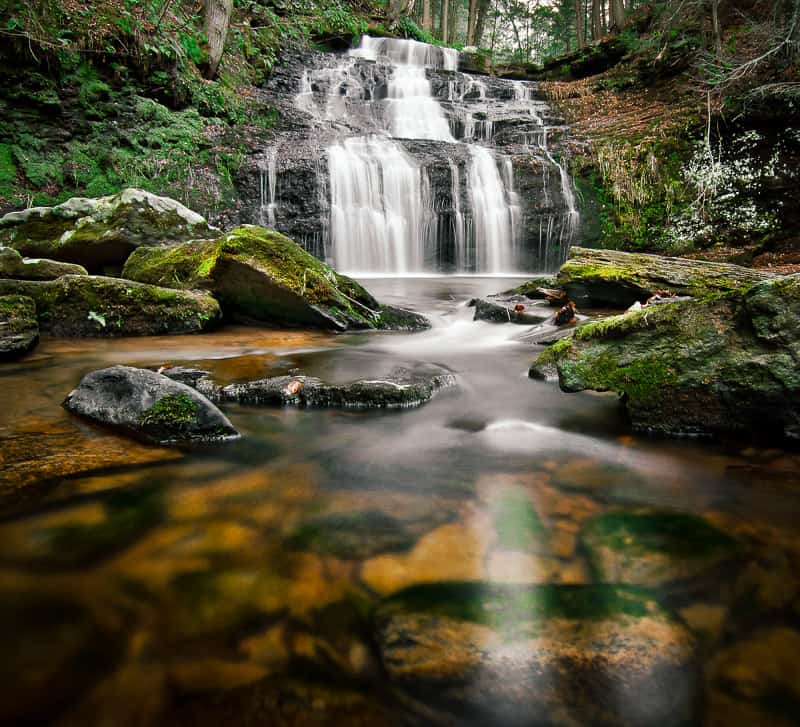
Using this technique for water smooths out any movement into a creamy smooth cloud-like appearance. Observe the left photo below and how the ocean is perfectly flat, you can also see the movement of the clouds has been captured. In the photo on the right the usual turbulent water around a water fall, reflects a more calming image with the water coming over the rocks like a white curtain.
This video shows the steps quite clearly without the use of a ND filter, including the camera settings.
*Please note that if you are in a very bright area you will need a ND filter as there will be too much light in using the longer shutter speed and the photo will be overexposed.
This article provides detailed information on the steps.
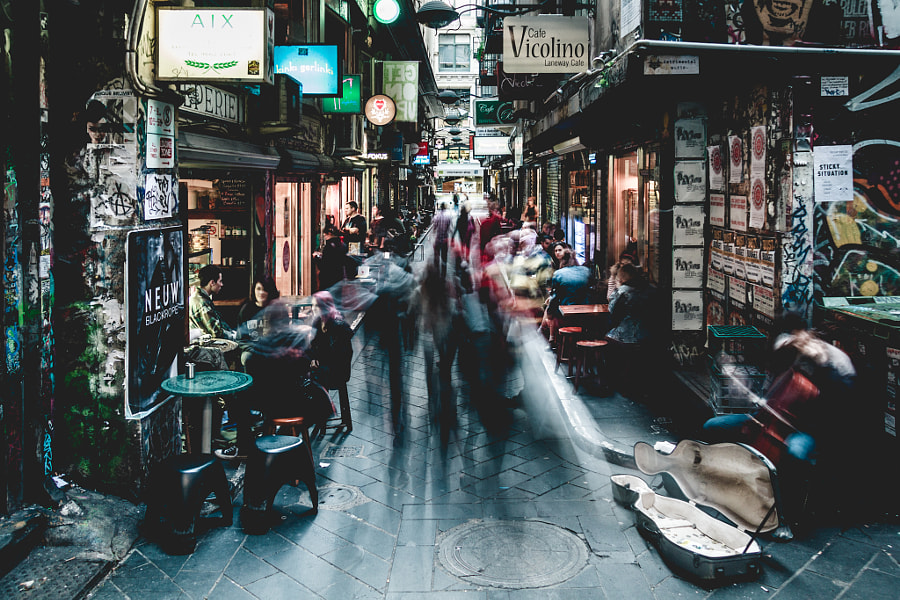
Street/Light trails
Set up a tripod, break out the ND filter (or go out at night), close up your aperture, and turn the exposure up to 11… seconds, or 9, or 6. Really anything that will allow you to capture a blurry mass of humanity walking the streets while the street itself becomes the impossibly sharp backdrop to this blur of motion.

Using the same technique, but light or people are the moving element. This video below has some great examples and talks about merging layers (like what we did with bracketing) and editing to create super cool street light trails.
For your Visual Diary, add a new project titled the same as this page. Take some examples of this in class and add with the camera settings to your visual diary.
I also recommended going out and testing this at a different location on the weekend. Book a camera and tripod here. You could potentiality use some of these images for your Prac 1 task.
After you take the photos include them with the below reflection in your Visual Diary.
Suggested template for reflection:
- What did you learn from this task? (Use “I can…” as a sentence starter)
- What did you like about this task?
- What was difficult? (Use “I am struggling with…” as a sentence starter)
- How did you solve problems?
- Is your image successful, if so, why?
- What adjustments (edits) did you do to your image? (include before and after and camera settings if available)
- What else could you change if you had more time or resources?
