Step 1: Revise the main points from last week’s practice – lighting, angle, hiding the “chair” using draping clothing, interaction with the environment etc. Write down some of these things that you can work on for your next attempt.
Step 2: Collect some example levitation images that you like to use as inspiration for your assignment. Add these to your Visual Diary. (You may also reference them in your assignment – so many sure you keep the references)
Step 3: Try out one of the following ideas thinking about how you can improve on your first levitation photo.
Using the path/road as a leading line in the photo. eg.

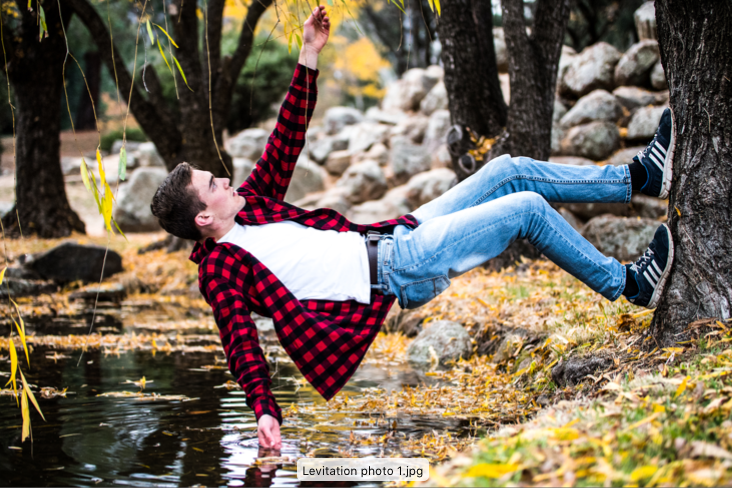
Having a the person interact with the environment they are levitating in eg.
Levitating an object or having objects levitating with the person in your photo. Eg.


Two of the one person in the photo eg.

Using a window or door to frame your subject eg.

Edit the images to your liking – Practice using your workflow through lightroom, if you don’t have access you can use pixlr, photopea or another editing app. Make exposure and colour adjustments as needed.
- Photoshop: FILE>SAVE AS> JPEG
- Photopea.com: FILE> EXPORT AS> JPG
Add everything to your Visual Diary with a reflection and the camera settings for the photos.
Suggested questions for reflection:
- What did you like about this task?
- What was difficult?
- How did you solve problems?
- Is your image successful, if so, why?
- What adjustments (edits) did you do to your image?
- What else could you change if you had more time or resources?
