All of the Unit 3, 4, 5 and 6 will be creating their visual diaries as websites/portfolios utilizing WordPress.
There are a number of reasons for this:
- You will learn another skill that you can use outside of college. Many modern career paths, including entrepreneurs need to have websites to function.
- You can use it as a portfolio for applications for tertiary courses.
- You can develop it further post Year 12 and use it as a website for your own photography business.
WordPress is free, relatively easy to use site with many plugins, themes and customisation. It is very secure and can handle different media types.
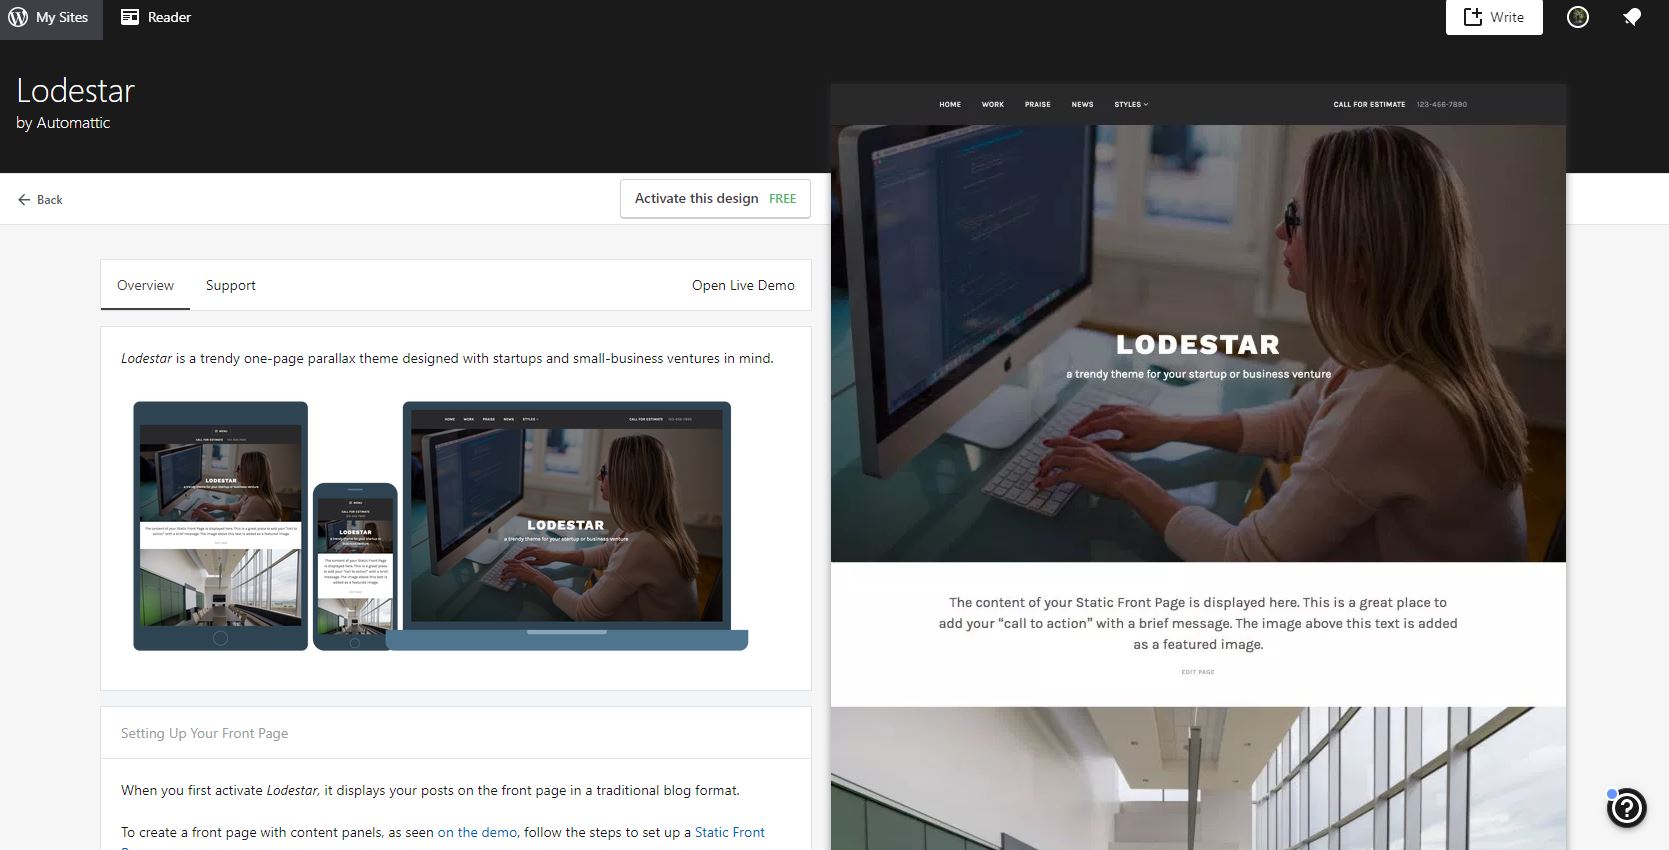
Examples of sites built with WordPress
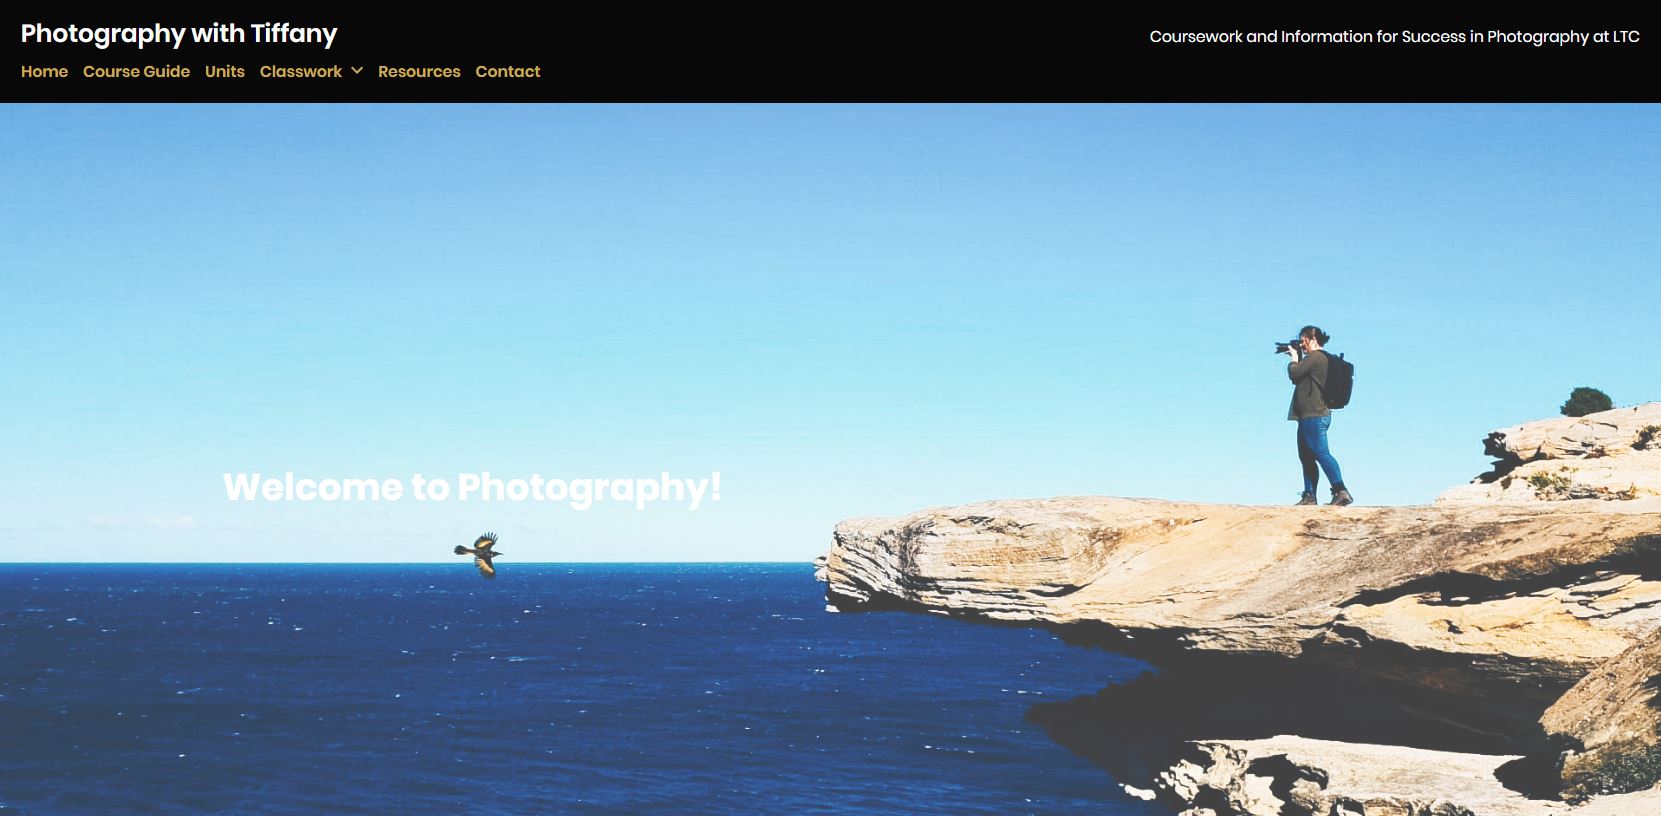
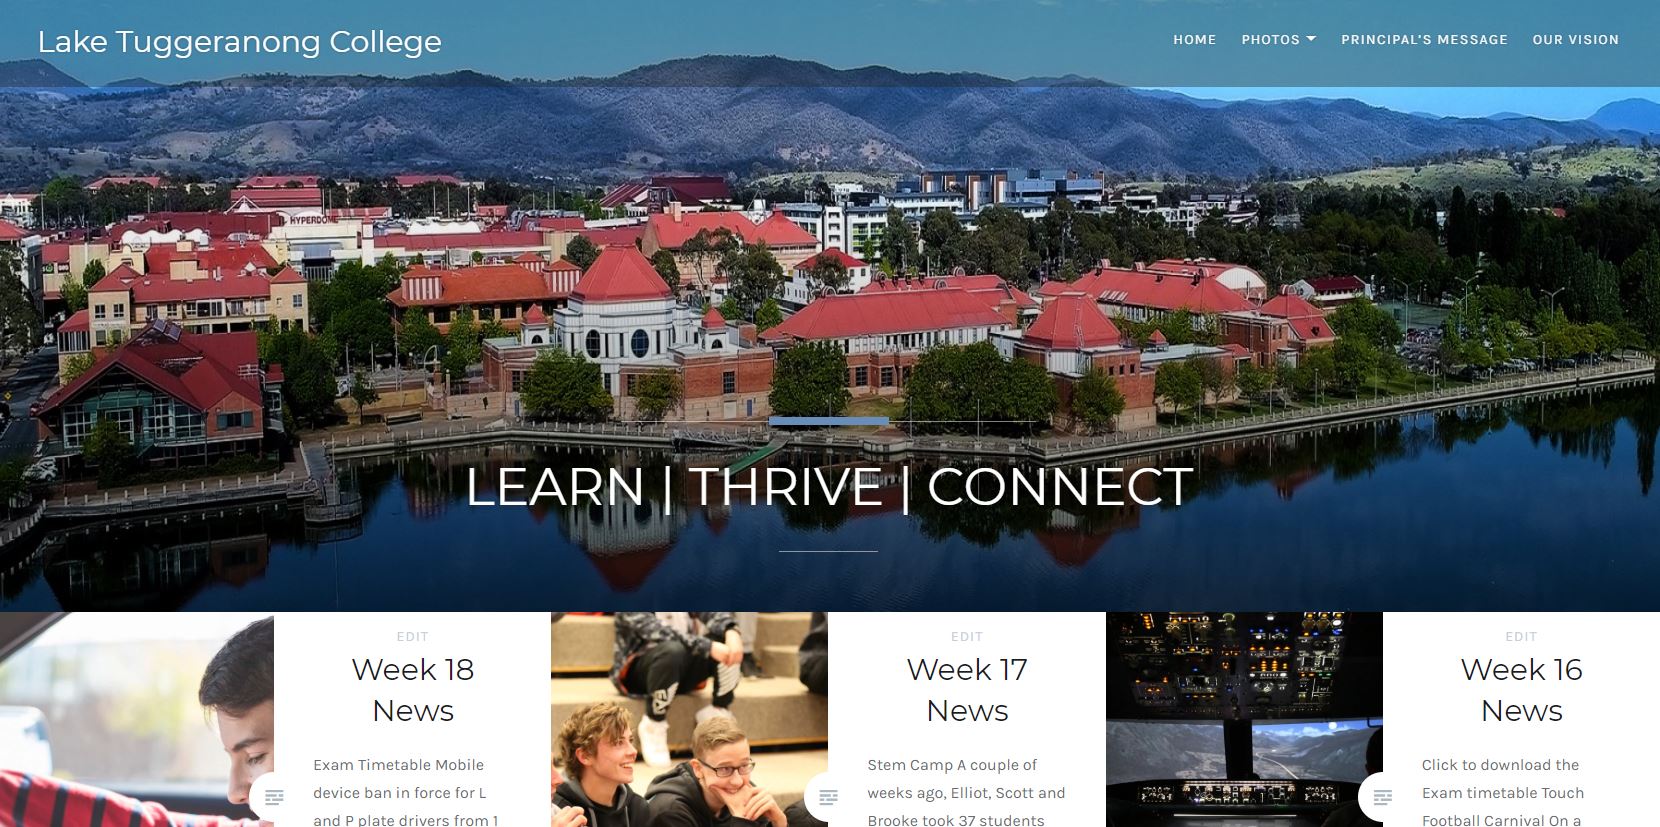
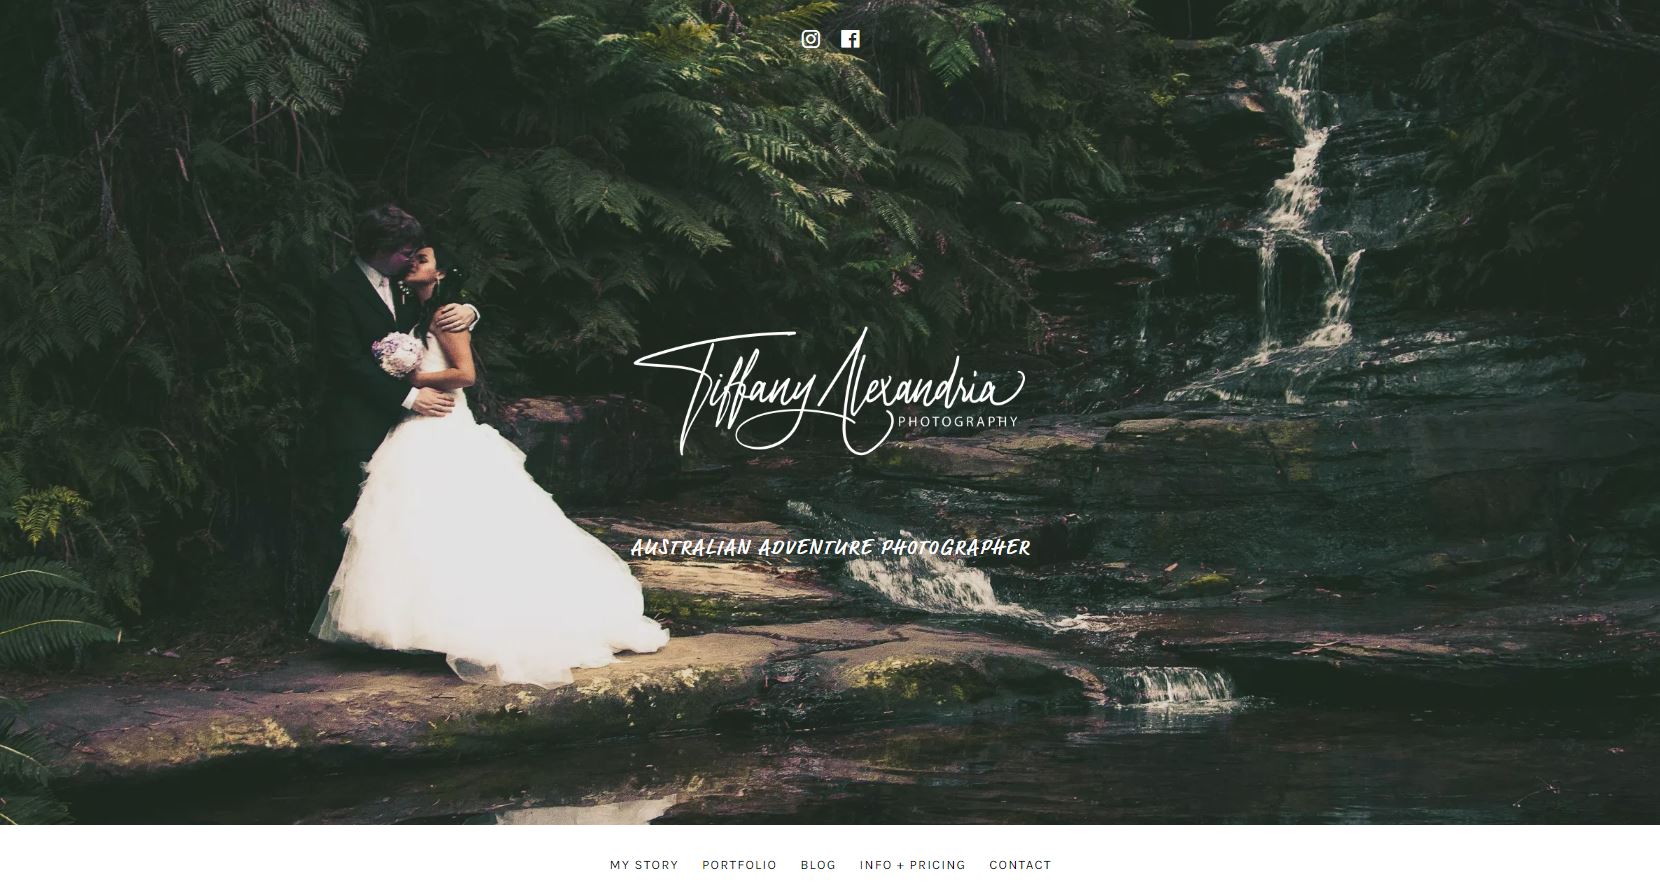
You can see that all of these sites look very different. The themes used vary the positioning and look of different elements.
In your Visual Diary there are going to be several guidelines that you need to follow, the rest of the layout is up to you.
- You must have an about section – with a photo of you
- A blog page – where the posts (classwork will go)
- A portfolio page – with all of your final assignments
As you update and publish each slide it will save. Add the link to your site in the Google sheet on your Google classroom.
Steps to create your Website
Step 1: Go to WordPress.com and sign up for a free website.
When prompted Click Professional and photographer for your type of site.

Step 2: Choose a title for your site eg. Tiffany Alexandria Photography or Photos by Tiffany.
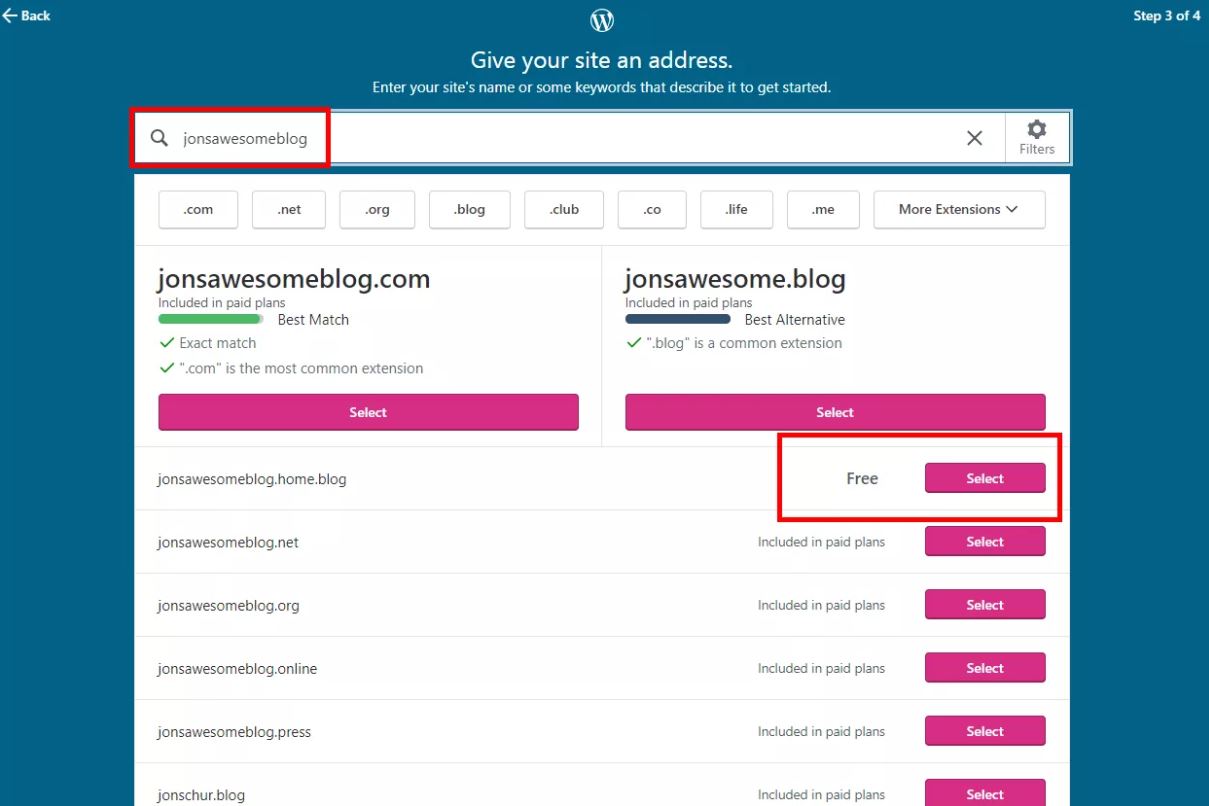
You will then be prompted to give your site an address, choose the top free one.
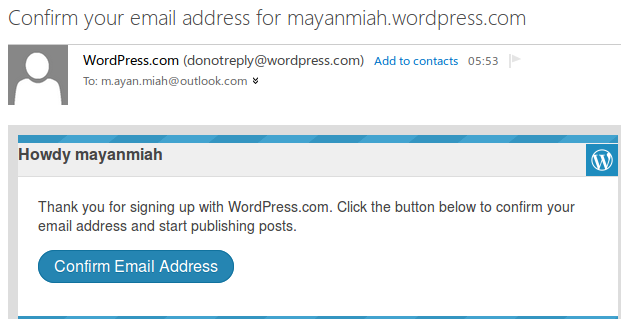
Step 3: Confirm your email address by responding to the email WordPress sent you.
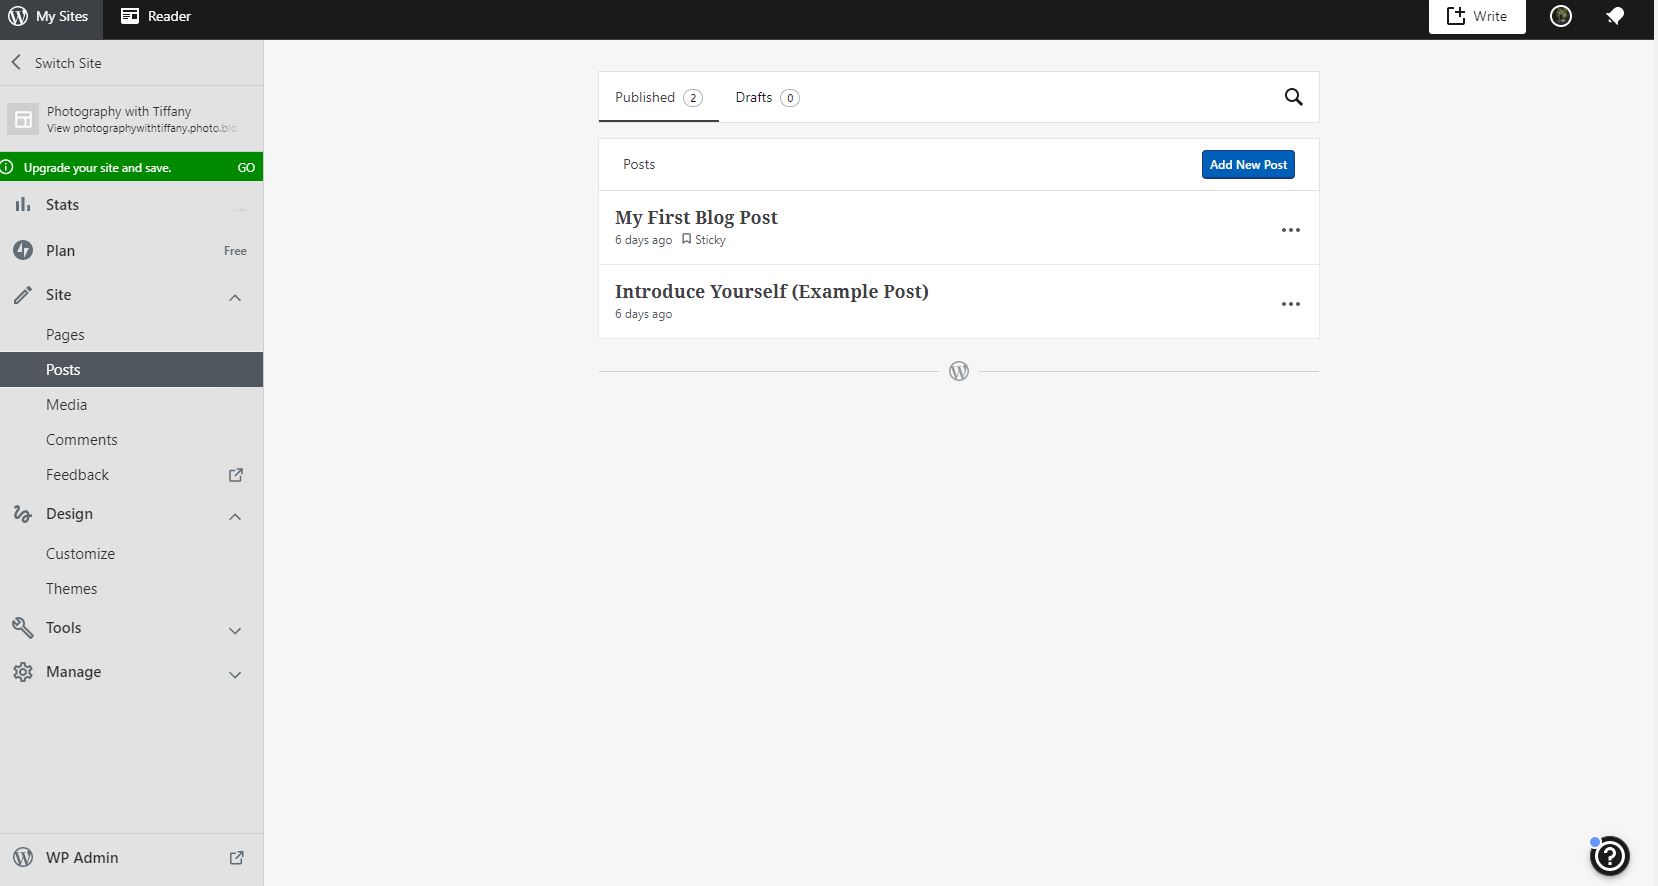
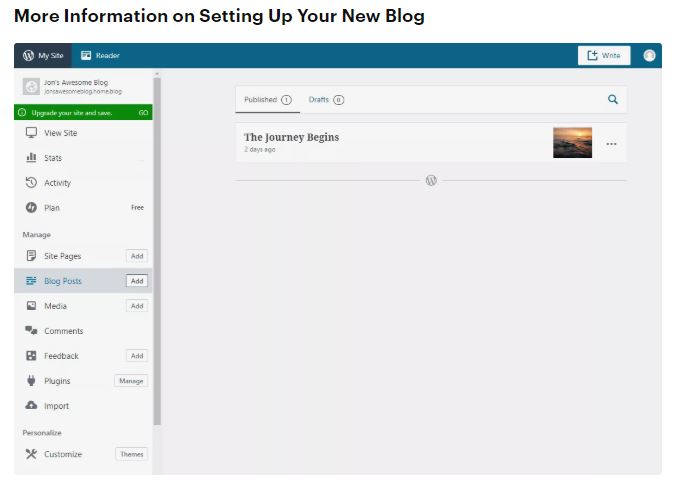
The dashboard you see to the right is the primary screen where you’ll work on your blog. This is where you manage your blog’s pages, media content, comments, plugins, and other customisations that make your blog unique.
First you will want to choose a theme for your site. If you search portfolio or photography in the search bar it will give you options that are optimized for displaying photographs.
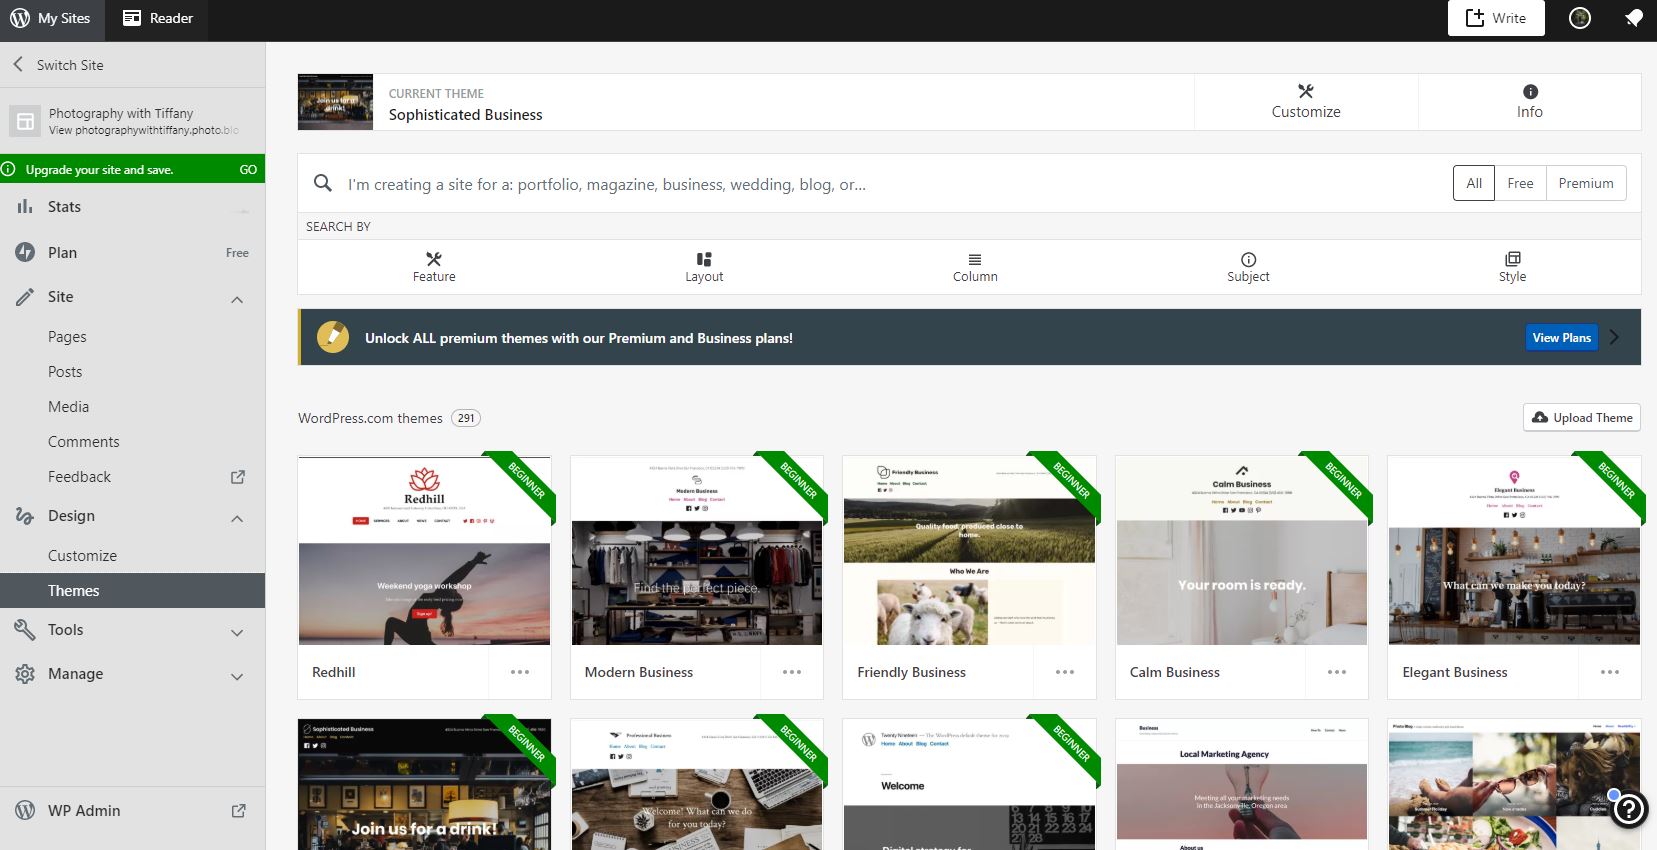
You can click on the individual themes to get more information about them, and if you click on the example site on the right it will give you a run through of the possible layout options for that theme.
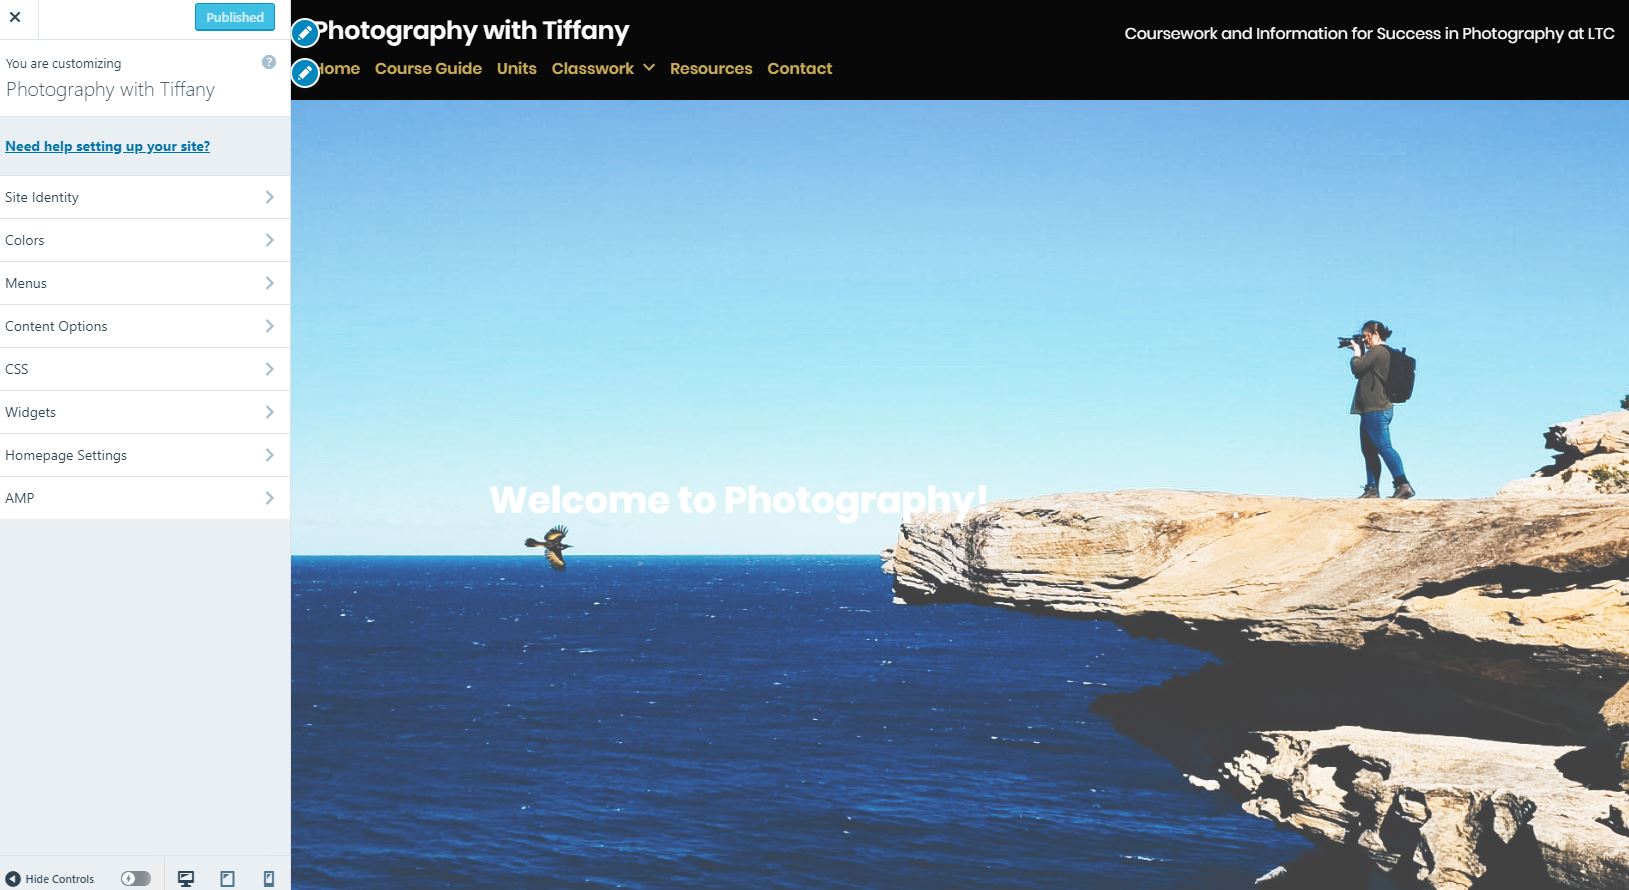
Go to the dashboard and click on customise.
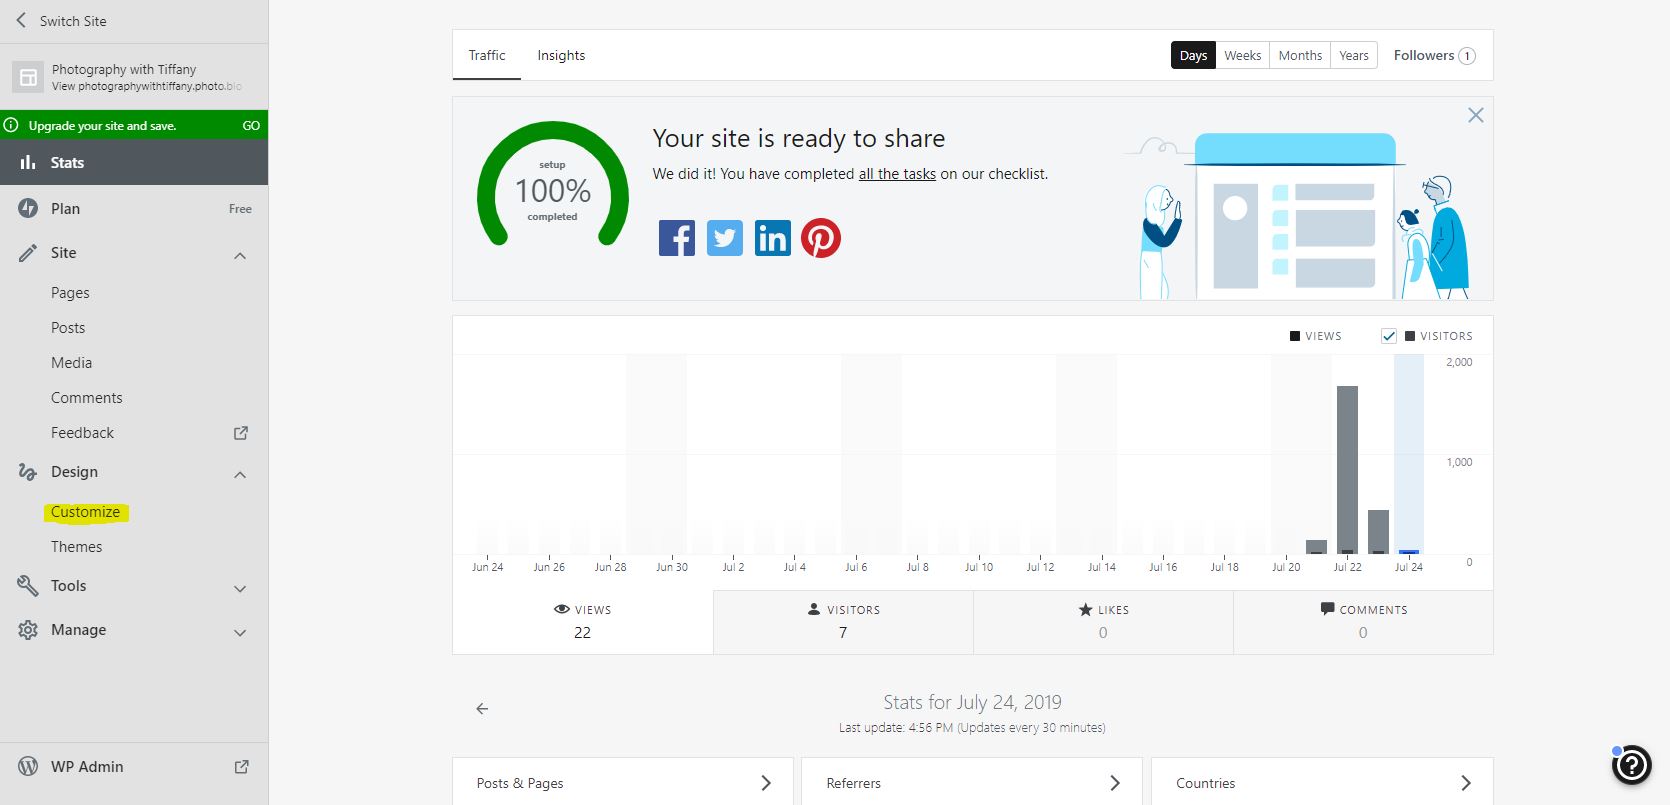
This is where you can edited different components of your site. (including the MENU) this will be important after you create some pages.
After you have made a few customisations to your page. Head back to the dashboard, and click on pages – add page.
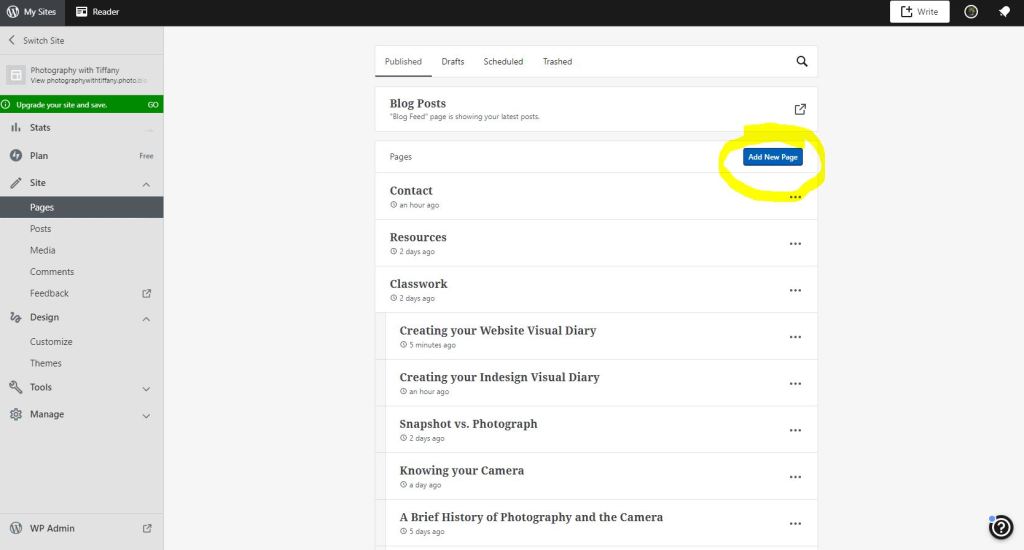
On most sites, the page templates options will now come up, you can choose one of these or a blank one and fully make it your own.
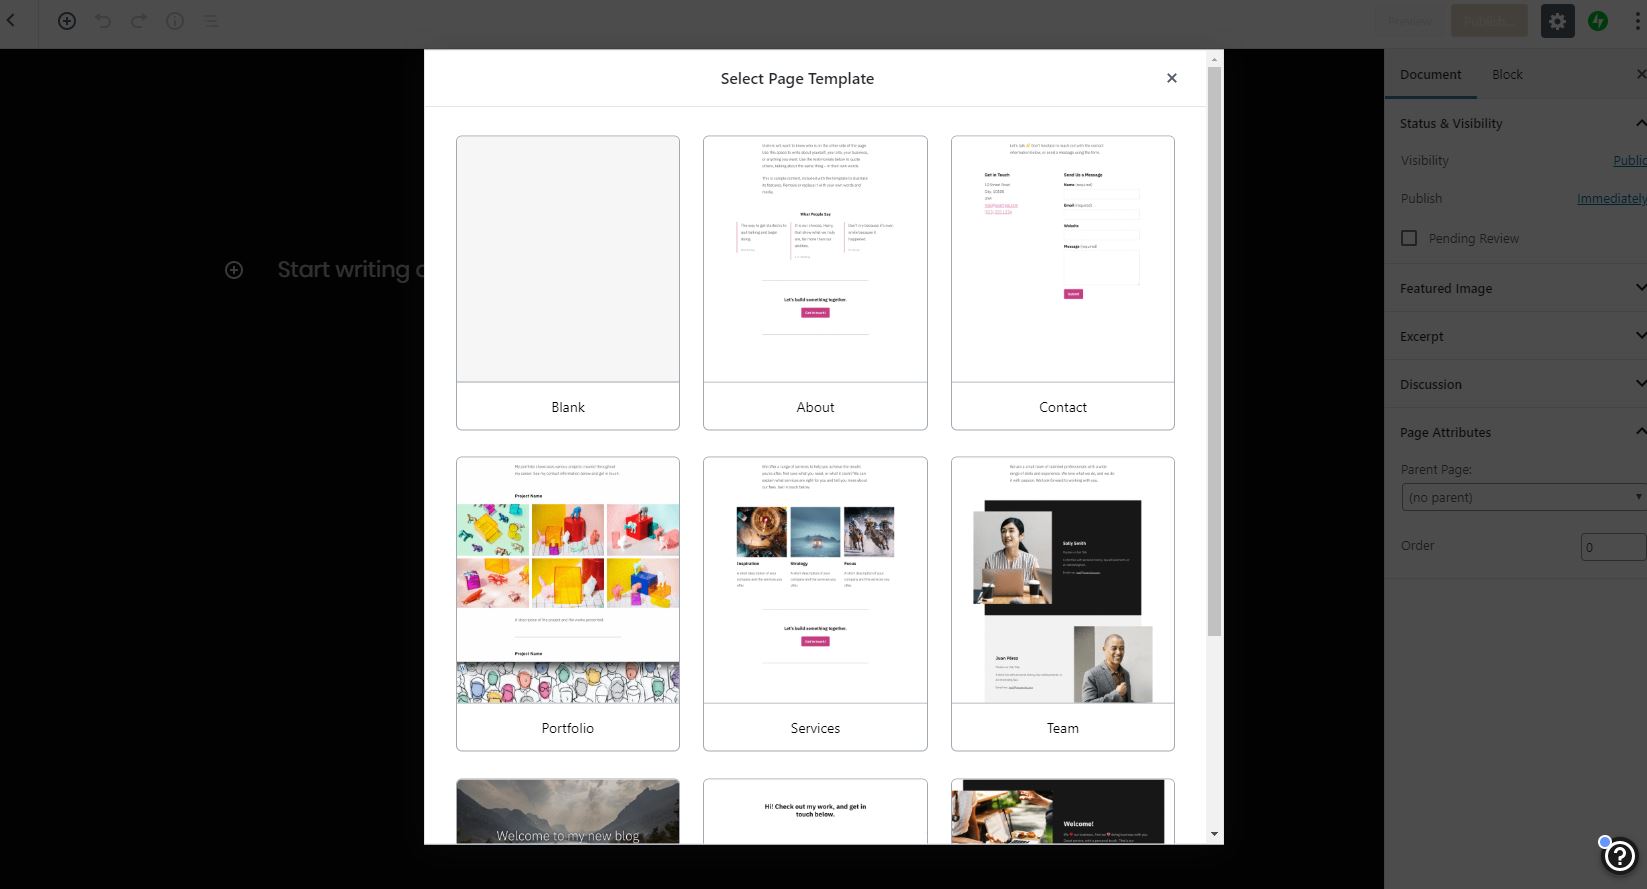
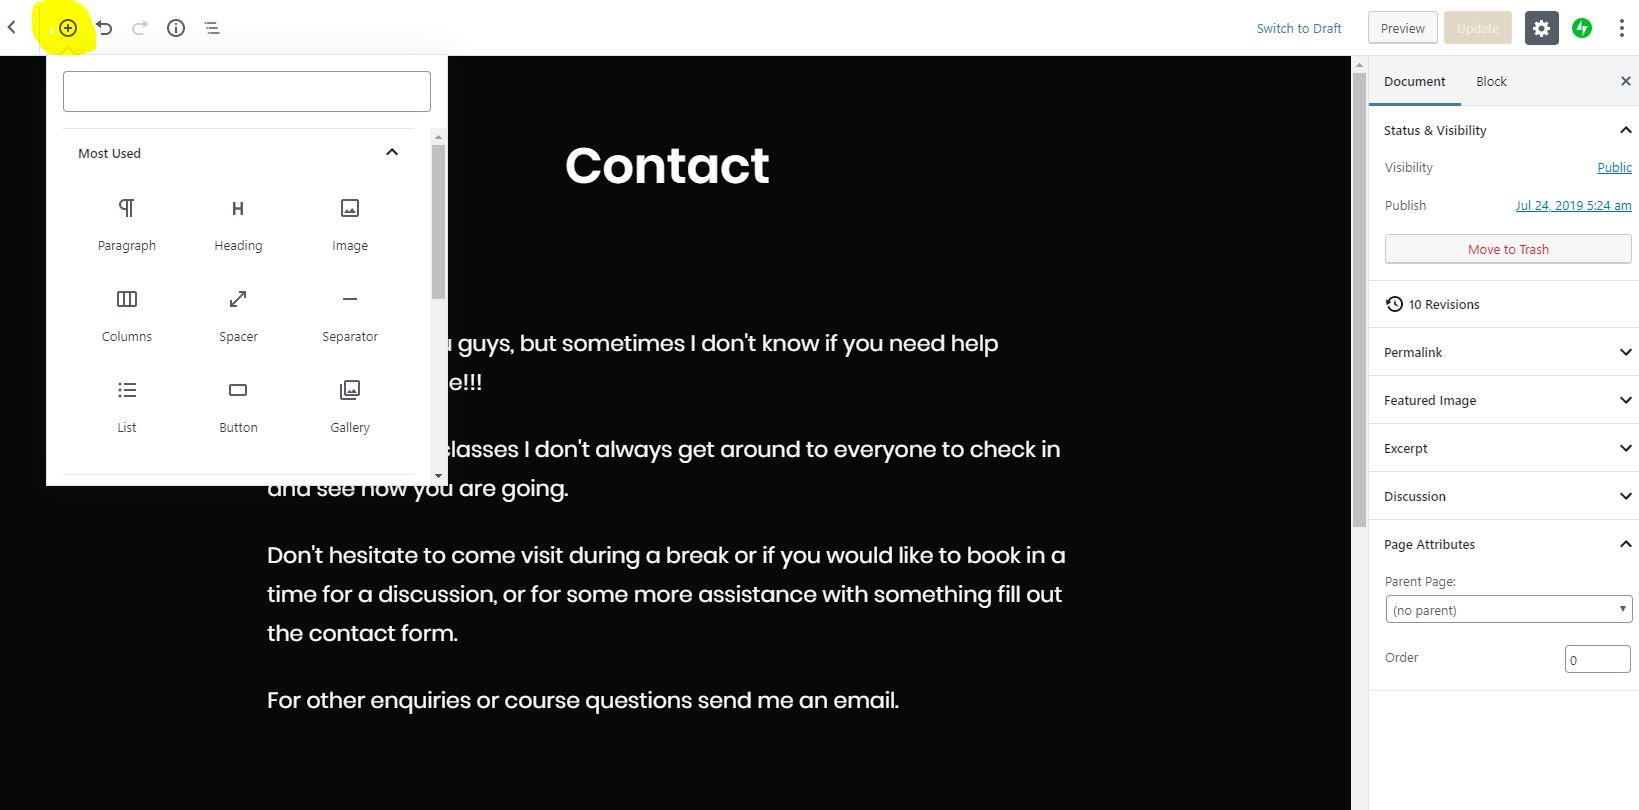
All of the pages will have the add block builder on the top left. You can use this to add different sections to your site.
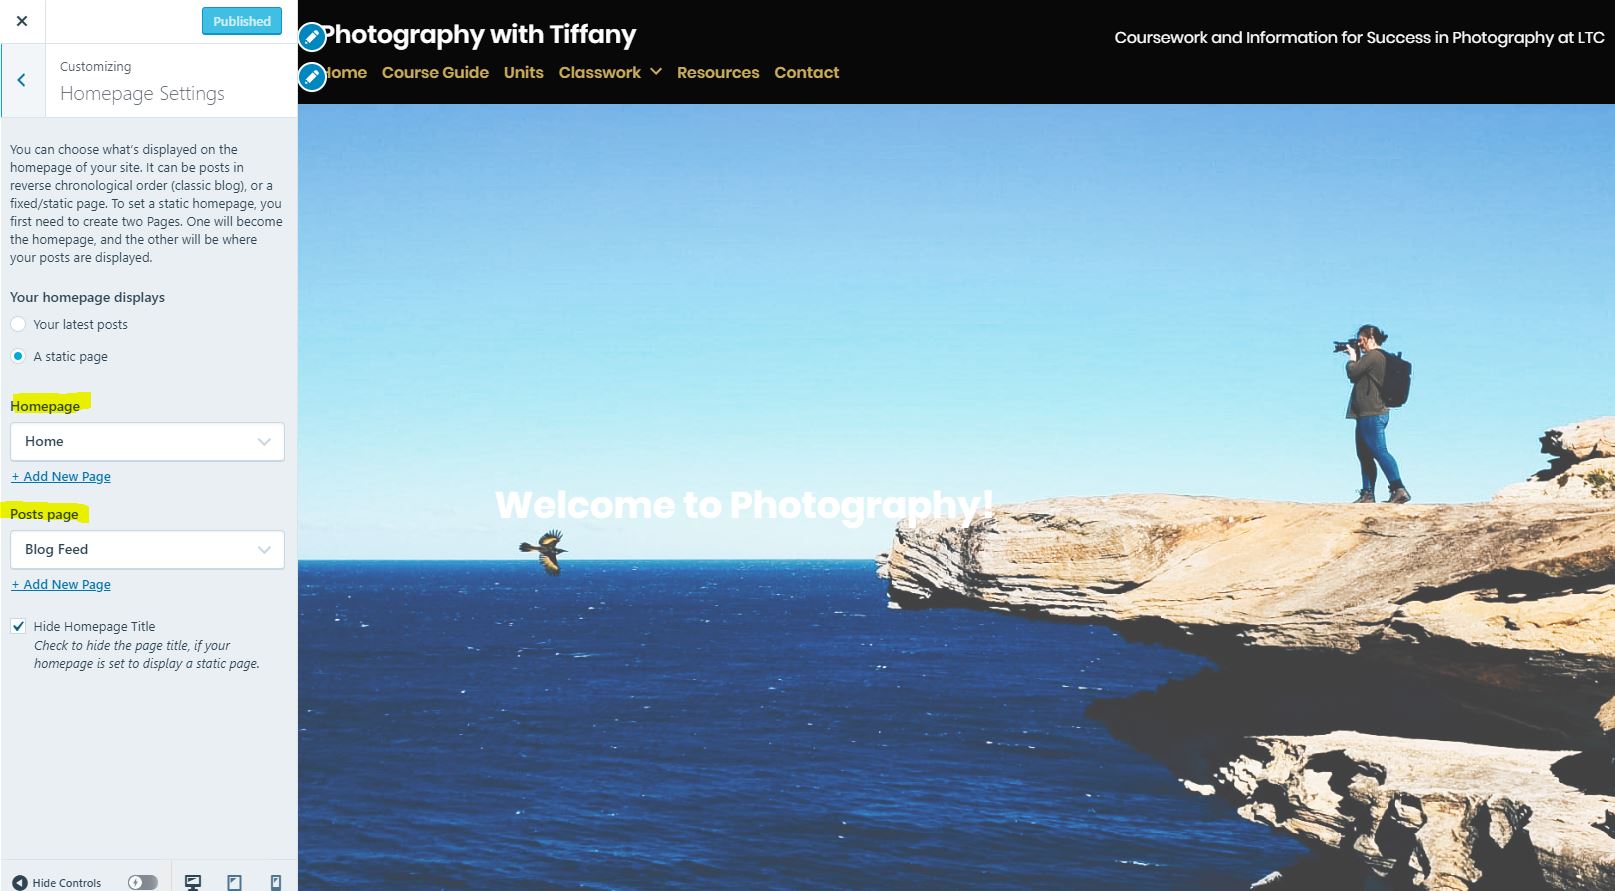
Create a few pages to build out the structure of your site, go back to the customiser and arrange your pages in the MENU area. Then click on the HOMEPAGE button and set your Homepage and Blog page.
Your blog will contain your posts (or your classwork/usual visual diary stuff)