All of the Unit 1 and 2 classes will be creating their visual diaries utilizing Adobe Indesign.
There are a number of reasons for this:
- You will learn another skill that you can use outside of college. Many modern career paths related to photography, media and graphic design use Adobe Indesign in their business.
- This is a software that is accessible on the MACS, meaning that we are dedicating class time to completing quality work and learning skills.
Adobe InDesign is a desktop publishing and typesetting software application produced by Adobe Systems. It can be used to create works such as posters, flyers, brochures, magazines, newspapers, presentations, books and ebooks.
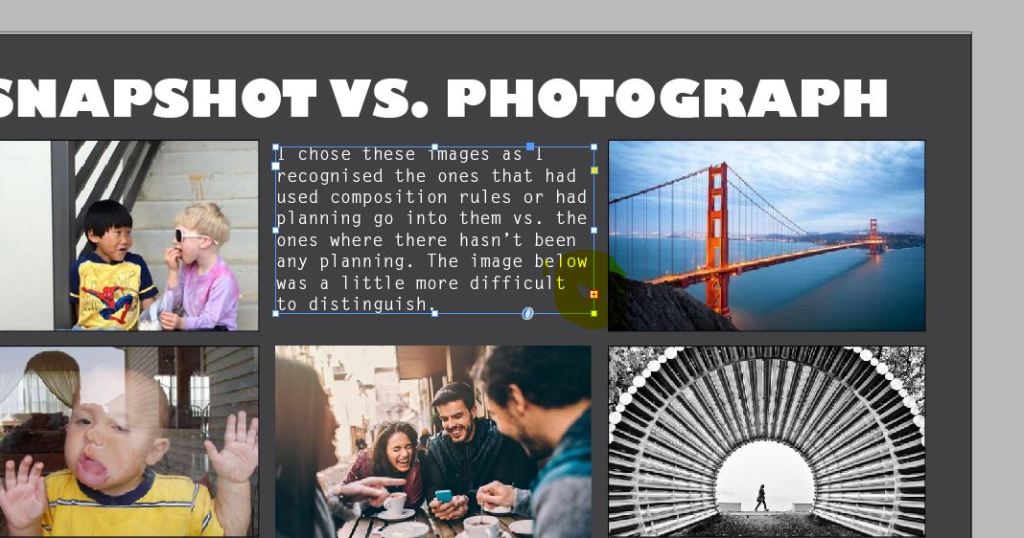
In your Visual Diary there are going to be several guidelines that you need to follow, the rest of the layout is up to you.
- You must have a full page photo as the front page, and for any section dividers eg. assessment research, contact sheets, classwork
- The rest of the pages of your visual diary need to be either black, white or charcoal (between 80-95%)
Each lesson you need to save the Indesign document at the end of the lessons (it doesn’t auto save) and back it up to the shared location on the M drive.
Steps to create your Visual Diary
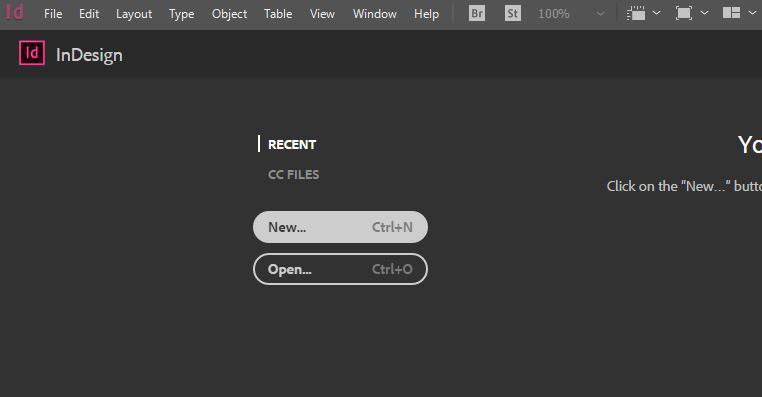
Step 1: Open Adobe Indesign
Step 2: Create New Document
Step 3: Click on Print, A4, change the orientation to landscape, pages to 20, and column guides to 3.
Where it says Untitled, change your title to: firstname lastname photography visual diary semester 2.
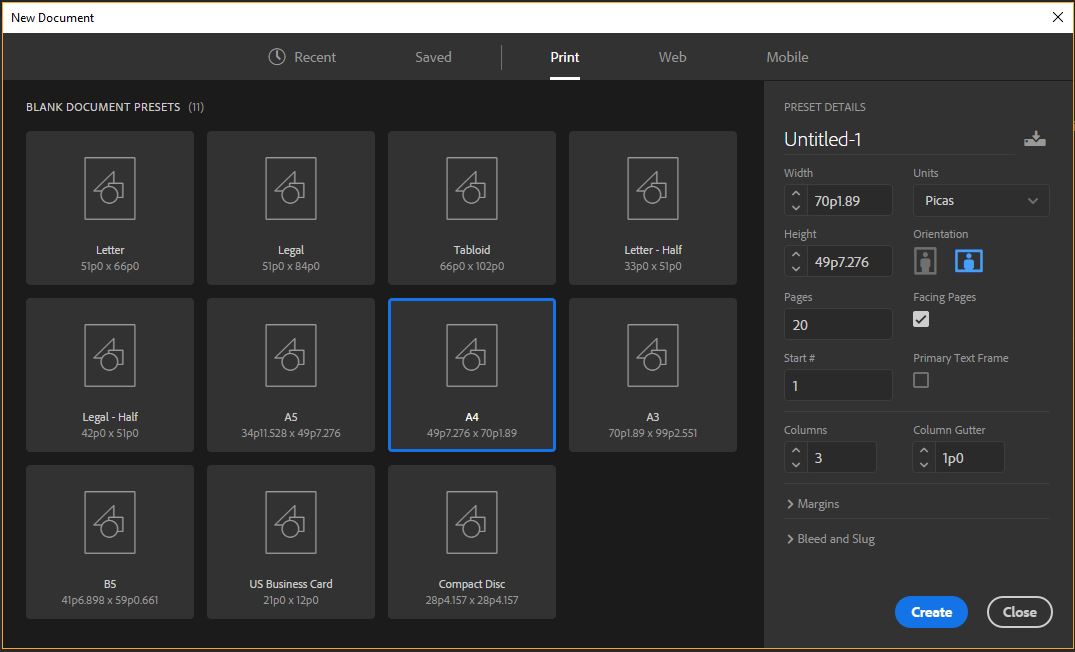
Step 4: Your window should now look like this.
If not go back and see if you missed one of the settings from step 3.

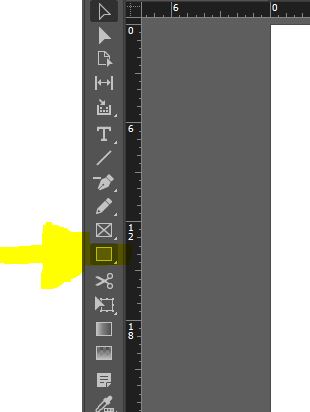
Step 5: Use the rectangle tool, to draw a box on the page. We are creating a full size image here, so draw the box around the full page.
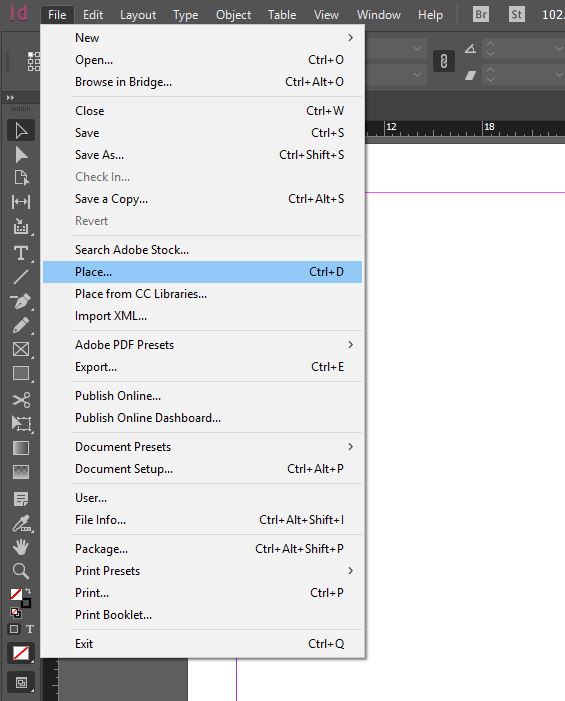
Step 6: Go to file, place and select the image you would like for your title page.
For Photo Communications, we are using a landscape photo as it is our first assessment.
Step 6: If you image comes up zoomed in, or does not fill the whole box, use these tools up the top right hand side to adjust your image.
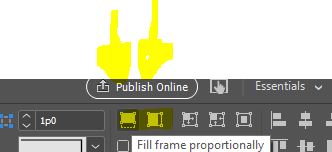
Step 6: If you image comes up zoomed in, or does not fill the whole box, use these tools up the top right hand side to adjust your image.

Step 7: Use the text font and size editing tools up the top left and the colour editing tool to the right to adjust the font.
You can use the selection tool (black arrow) to move and adjust this box.

Step 8: Click on the pages panel on the right hand side for an overview of your pages or to change between them you can click on the individual pages here.
If you click control, (or windows key) and plus and minus you can zoom in and out. And hit W on the keyboard to hide the margin guides.

Step 8: Now you can play around with the text box and place image tools to add our classwork to your visual diary.

BONUS TIPS:
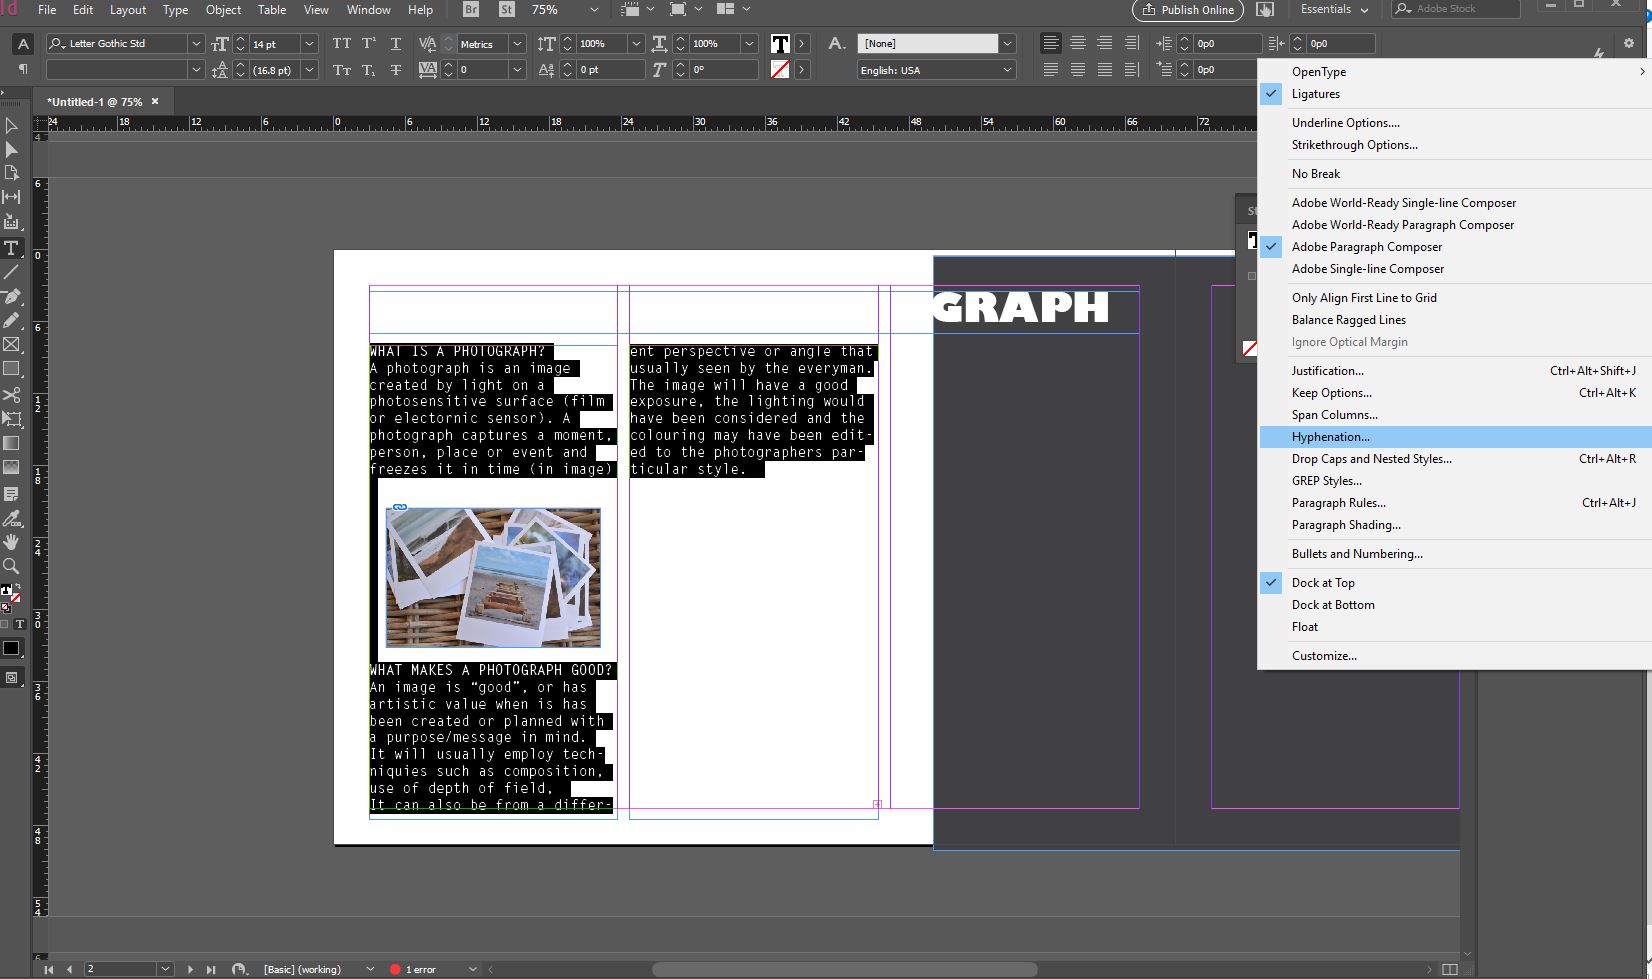
To remove the hyphenation in the text boxes select all the text, click the three lines at the end of the top tool bar and deselect hyphenation.
To link text boxes together, create the second text box. Using the black arrow selection tool, click on the first box and click the red marker on the bottom right.
Some ghost text will then appear and you can click on the text box you want to link.